1. Nhanganyaya
Thank you for choosing the Murray 18V Lithium-Ion Grass Trimmer IQ18GTK. This manual provides essential information for the safe operation, assembly, maintenance, and troubleshooting of your new grass trimmer. Please read this manual thoroughly before first use and keep it for future reference.
Package Zviri mukati:
- Murray 18V Lithium-Ion Grass Trimmer
- Briggs & Stratton 18V 2.5Ah Lithium-Ion Battery
- Battery Charger
- Spool of Trimmer Line
- Murindi Anodzivirira
- Mubato Wekubatsira
- User Manual

Image 1.1: The Murray 18V Lithium-Ion Grass Trimmer, including the 2.5Ah battery and charger.
2. Mirayiridzo Yekuchengetedza
Gara uchitevera matanho ekutanga ekudzivirira kuti uderedze njodzi yemoto, kuvhunduka kwemagetsi, uye kukuvara kwemunhu paunenge uchishandisa chigadzirwa ichi.
General Safety Warning:
- Pfeka Zvishandiso Zvekuzvidzivirira Pamunhu (PPE): Always wear eye protection (safety glasses or goggles), long pants, sturdy footwear, and hearing protection when operating the trimmer.
- Keep Clear of Debris: Be aware of flying debris. Ensure bystanders, children, and pets are at a safe distance (at least 15 meters/50 feet) from the operating area.
- Ongorora Nzvimbo Yebasa: Before starting, clear the area of any objects that could be thrown by the trimmer line, such as rocks, broken glass, or wire.
- Dzivisa Kusangana neGanda: Do not touch the trimmer line or cutting head while the tool is running.
- Secure Grip: Always hold the trimmer firmly with both hands during operation.
- Use in Good Conditions: Operate the trimmer only in daylight or good artificial light. Avoid using it in wet grass or rain.
- Kuchengetedzwa kweBhatiri: Use only the specified battery and charger. Do not expose the battery to water or extreme temperatures.
- Maintenance: Disconnect the battery before performing any maintenance, cleaning, or when changing the trimmer line.
3. Gungano
Follow these steps to assemble your grass trimmer before first use.
3.1 Attaching the Protective Guard
- Align the protective guard with the trimmer head.
- Secure the guard using the provided screws. Ensure it is firmly attached to prevent injury from flying debris.

Mufananidzo 3.1: View of the trimmer head, showing the protective guard and line spool.
3.2 Installing the Auxiliary Handle
- Slide the auxiliary handle onto the main shaft.
- Adjust the handle to a comfortable working position and tighten the locking knob.

Image 3.2: The auxiliary handle attached to the trimmer shaft, showing the adjustment knob.
3.3 Kuchaja uye Kuisa Bhatiri
- Before first use, fully charge the 18V Lithium-Ion battery using the provided charger. Refer to the charger's manual for specific charging instructions.
- Once charged, slide the battery into the battery compartment on the trimmer handle until it clicks into place.
- Kuti ubvise bhatiri, tinya bhatani rekuburitsa uye bvisa bhatiri panze.
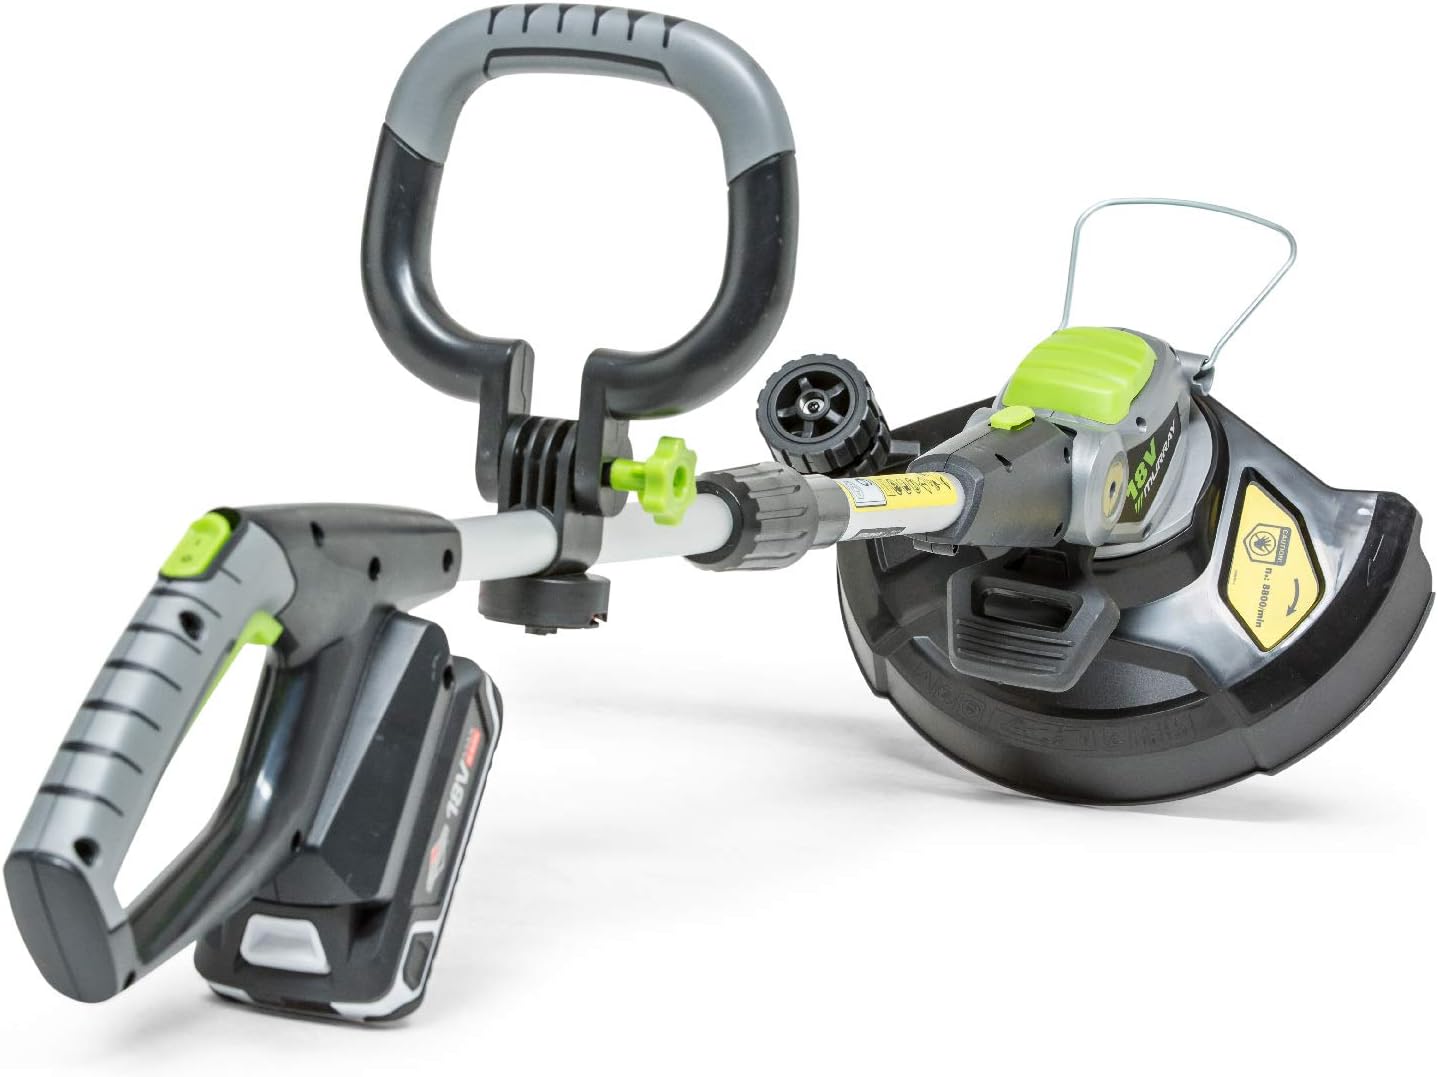
Image 3.3: The Murray 18V Grass Trimmer with the 18V Lithium-Ion battery correctly inserted into the handle.
4. Kushanda
This section details how to safely operate your Murray grass trimmer.
4.1 Kutanga uye Kumisa
- To start the trimmer, ensure the battery is fully inserted. Press and hold the safety lock-off button, then squeeze the trigger switch.
- Kuti umise chidzimikiso, sunungura chinokonzeresa switch.

Image 4.1: The main handle of the trimmer, showing the green safety button and the trigger switch for operation.
4.2 Kucheka neKuchekerera
- Kucheka Huswa: Hold the trimmer with the cutting head parallel to the ground. Move the trimmer slowly and steadily across the area to be cut.
- Basa reKupinza: The trimmer head pivots to easily switch from trimming to edging. Rotate the head 90 degrees for precise edging along pathways and flowerbeds.

Image 4.2: The trimmer head pivoted for edging, demonstrating its versatility.
4.3 Adjusting Shaft Length
The trimmer features an adjustable shaft length for user comfort. Loosen the shaft locking collar, extend or retract the shaft to the desired length, and then tighten the collar securely.
4.4 Kudya Kwemitsara Otomatiki
This trimmer is equipped with an automatic line feed system. When the line becomes too short, it will automatically extend during operation. Avoid intentionally bumping the head to feed line, as this can wear down the mechanism.
5. Kuchengeta
Regular maintenance ensures optimal performance and extends the life of your trimmer. Always disconnect the battery before performing any maintenance.
5.1 Kuchenesa
- After each use, clean the trimmer housing and protective guard with a damp jira.
- Remove any grass clippings or debris from the cutting head and ventilation slots.
- Usashandise zvinonyungudutsa kana mabrasive cleaners.
5.2 Trimmer Line Replacement
When the trimmer line is depleted, replace the spool with a new one. Refer to the product's specifications for the correct line diameter. Instructions for spool replacement are typically found on the spool packaging or can be obtained from customer support.
5.3 Bhatiri Kuchengeta uye Kuchengeta
- Chengeta bhatiri munzvimbo inotonhorera, yakaoma, kure nezuva rakananga uye tembiricha yakanyanya.
- Kuti uchengetedze kwenguva yakareba, chaja bhatiri kusvika pa50%.
- Do not store the battery connected to the trimmer or charger.
6. Kugadzirisa matambudziko
If you encounter issues with your trimmer, consult the following table before contacting customer support.
| Dambudziko | Zvinogona Kukonzera | Solution |
|---|---|---|
| Trimmer haina kutanga | Battery not inserted correctly or discharged. Safety lock-off not engaged. | Ensure battery is fully inserted and charged. Press safety lock-off button before squeezing trigger. |
| Trimmer line isiri kudya | Line tangled or depleted. Debris in the feed mechanism. | Remove battery, inspect and clear any tangles or debris. Replace line spool if empty. |
| Yakaderedzwa kucheka kuita | Mutsetse wekucheka wakapfupika kana kuti wakasakara. | Allow automatic line feed to extend the line. Replace line spool if necessary. |
7. Zvinyorwa zveUnyanzvi
| Feature | Tsanangudzo |
|---|---|
| Model Number | IQ18GTK (1697120) |
| Brand | Murray |
| Simba Source | 18V Lithium-Ion Bhatiri |
| Bhatiri Inosanganisirwa | 1 x 2.5Ah Lithium-Ion |
| Zviyero zveChigadzirwa (L x W x H) | 89 x 24 x 12.7 cm |
| Item Weight | 2.1 makirogiramu |
| Cutting Width | 30 Masendimita |
| Speed | 9000 rpm |
| Mugadziri | Briggs uye Stratton |
| Nyika Yekwakabva | China |
8. Ruzivo rweWaranti
The Murray 18V Lithium-Ion Grass Trimmer is covered by the following warranty:
- Product Warranty: 5 years for non-professional use.
- Battery and Charger Warranty: 3 years.
Please refer to the full warranty terms and conditions provided with your product or on the manufacturer's website for detailed application of the warranty.
9. Mutengi Tsigiro
For technical assistance, spare parts, or warranty claims, please contact your local Murray dealer or visit the official Briggs & Stratton website. When contacting support, please have your product model number (IQ18GTK or 1697120) and serial number ready.