1. Chigadzirwa Pamusoroview
The Tilswall Shark700 is a cordless electric paint sprayer designed for efficient and versatile painting tasks. It features a brushless motor, a lateral filling system, and adjustable spray patterns, compatible with Makita 18V batteries (not included).

Image: Tilswall Shark700 Cordless Paint Sprayer with paint container and battery slot.
Zvinokosha:
- High-Performance Brushless Motor: Operates at 90,000 RPM for smooth finishes, reduced vibration, and increased durability.
- Innovative Lateral Filling System: Allows quick and clean paint refills without detaching the entire reservoir.
- Cordless Freedom: Compatible with Makita 18V batteries (e.g., BL1860B, BL1850B, BL1840B, BL1830B, BL1820B, BL1815N) for versatile indoor and outdoor use.
- Precision Control: Offers three spray patterns (horizontal, vertical, circular) and variable flow rate (0-900 ml/min).
- Kuchengetedzwa Kwakabatana: Features undervoltage and overload protection for battery safety.
2. Safety Information
Always prioritize safety when operating the paint sprayer. Failure to follow safety instructions may result in injury or property damage.
- Wear appropriate personal protective equipment (PPE), including safety glasses, a respirator mask, and gloves.
- Ensure the work area is well-ventilated to prevent inhalation of paint fumes.
- Chengetedza vana nezvipfuyo kure nenzvimbo yebasa.
- Do not spray near open flames, sparks, or any ignition sources.
- Gara uchibvisa bhatiri usati wachenesa, kugadzirisa, kana kana chishandiso chisiri kushandiswa.
- Avoid direct contact with the main body containing the motor during cleaning to prevent water damage.
- Ensure the battery is fully charged and properly inserted before operation.
Video: "Pistolet a Peinture Guide d'utilisation" - Demonstrates general usage and safety practices. This video is provided by the seller.
3. Setup
3.1. Gungano
- Attach the paint container to the spray gun head.
- Securely connect the spray gun head to the main motor unit.
- Insert a charged Makita 18V battery into the battery slot until it clicks into place.
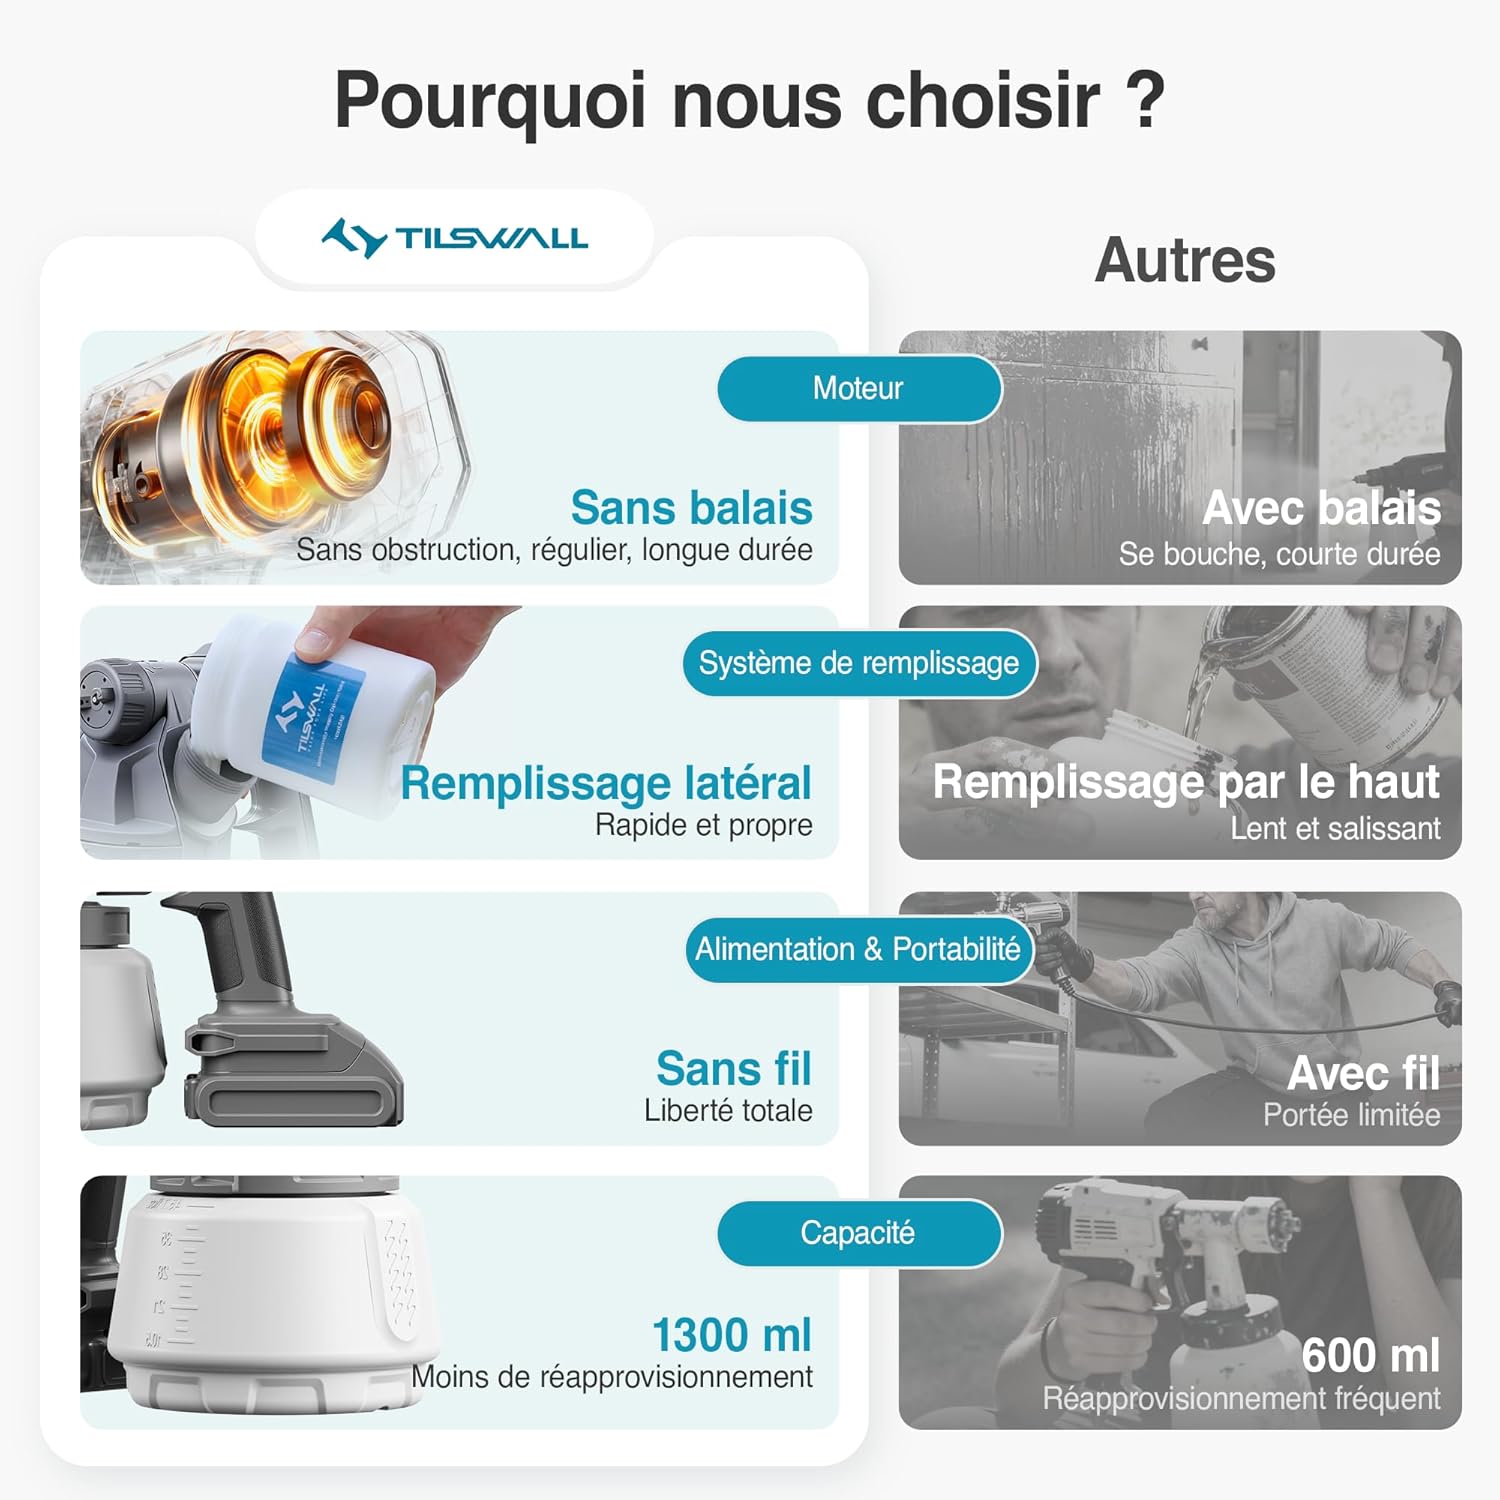
Image: Illustration showing compatibility with various Makita 18V batteries (battery not included).

Image: Visual guide demonstrating the easy assembly process of the paint sprayer components, including paint preparation and cleaning steps.
3.2. Paint Preparation and Filling
Proper paint preparation is crucial for optimal spraying performance. Always dilute paint before use if necessary.
- Water-based paints: Dilute directly with clean water.
- Other paints (oil-based, solvent-based, etc.): Use the correct thinner specified by the paint manufacturer. Using the wrong thinner can lead to poor coverage and spraying issues.
- Always filter the paint mixture to remove lumps and ensure smooth spraying.
- Utilize the innovative lateral filling system to add paint quickly and cleanly to the 1300ml reservoir without needing to unscrew the entire container.

Image: Demonstrates the lateral filling system, allowing paint to be added from the side without removing the entire reservoir.

Image: Diagram illustrating the easy lateral filling mechanism for quick and clean refills.
4. Operating Instructions
4.1. Kutanga Maitiro
To avoid initial splatters and ensure a perfect start, follow these steps:
- Point the nozzle away from the target surface.
- Lightly press the trigger for 2 seconds to start the motor.
- Once the motor is running, fully press the trigger to activate the paint flow and begin spraying.
Note: The brushless motor has a progressive start mechanism to protect its lifespan. During the first 2 seconds, air pressure is too low to atomize paint. Fully pressing the trigger immediately will cause paint to spurt.
4.2. Spray Patterns and Flow Control
The sprayer offers three adjustable spray patterns and variable flow control for customized results:
- Horizontal Pattern: Ideal for vertical surfaces, moving the sprayer horizontally.
- Vertical Pattern: Ideal for horizontal surfaces, moving the sprayer vertically.
- Circular Pattern: Best for small areas, corners, or intricate details.
- Adjust the flow rate from 0-900 ml/min using the control knob to match your task and paint viscosity.

Image: Visual representation of the three spray patterns (circular, vertical, horizontal) and the flow rate adjustment dial.
Video: "Pistolet a Peinture Guide d'utilisation" - Demonstrates adjusting spray patterns and flow control. This video is provided by the seller.
4.3. Spraying Technique for Uniform Finish
- Distance: Hold the sprayer 10-30 cm (4-12 inches) from the surface. Maintain this distance consistently throughout the project.
- Movement and Overlap: Move the sprayer in parallel, fluid motions at a constant speed (approx. 30-60 cm/second). Overlap each pass by about 50% to ensure uniform coverage and avoid streaks.
- Oriental: Always keep the sprayer perpendicular to the surface. Avoid tilting or arcing the sprayer to achieve an even finish.
5. Kuchengeta
Regular cleaning and maintenance ensure the longevity and optimal performance of your paint sprayer. Clean the sprayer immediately after each use (within 15 minutes) to prevent paint from drying and causing blockages.
5.1. Kuchenesa Maitiro
- Reservoir & Tube: Thoroughly brush and rinse the inside and outside of the paint reservoir and suction tube.
- Disassemble & Rinse: Unscrew the fixing nut and remove the spray head and nozzle. Rinse these detached parts with water and brush away any residue.
- Unclog & Clean: Use the cleaning needle to remove any internal blockages. Rinse the sprayer body and brush off any remaining paint.
- Zvakakosha: Avoid all contact with water on the main body containing the motor.
- Perform a final rinse with solvent or clean water until the outflow is completely clear.
- After cleaning, allow all parts to air dry completely in a cool, dry place before reassembly.
- For oil-based paints, pre-clean with an appropriate thinner before performing a complete water rinse.

Image: Demonstrates the easy disassembly and cleaning process of the paint sprayer components under running water.
Image: Diagram showing the steps for easy cleaning and maintenance of the sprayer.
6. Kugadzirisa matambudziko
Heano mhinduro kumatambudziko akajairika aungasangana nawo:
- Initial Splatters: If the sprayer produces splatters on the first spray, ensure you follow the correct starting procedure: point the nozzle away from the target, lightly press the trigger for 2 seconds to start the motor, then fully press to spray.
- Sprayer Vibrates: If the device vibrates excessively, check the battery charge. Replace or recharge the battery if it's low.
- Nozzle Yakavharwa: If paint flow is inconsistent or stops, the nozzle might be clogged. Use the provided cleaning needle to clear any dried paint or debris from the nozzle.
- Poor Spray Quality: Ensure paint is properly diluted according to manufacturer instructions. Filter paint to remove any particles. Adjust flow rate and spray pattern for optimal results.
7. Zvinotsanangurwa
| Feature | Detail |
|---|---|
| Model Name | Shark700 |
| Zviyero zveChigadzirwa (L x W x H) | 12.7 x 12.7 x 32 cm |
| Item Weight | 1.65 makirogiramu |
| Material | Mhangura, Plastiki |
| Simba Source | Battery Powered (Makita 18V compatible, battery not included) |
| Reservoir Volume | 1300 mamiriyoni |
| Inokurudzirwa Zvishandiso | Painting |
| Inosanganisirwa Zvikamu | Carry bag, filter |
8. Warranty uye Tsigiro
Specific warranty details and direct support contact information are not provided in the product data. Please refer to the product packaging or the manufacturer's official website for comprehensive warranty terms and customer support contacts.
For any issues or inquiries, please contact Tilswall customer service through their official channels.