1. Nhanganyaya
Thank you for choosing the NEDIS Automatic Lead Acid Battery Charger, model BACCH02. This charger is designed for safe and efficient charging and maintenance of 2V, 6V, and 12V lead-acid batteries. Please read this manual thoroughly before use to ensure proper operation and to prevent damage to the charger or battery.
2. Mirayiridzo Yekuchengetedza
Always observe the following safety precautions when using the battery charger:
- This charger is for indoor use only. Do not expose to rain or moisture.
- Chengetedza pasingasvikirwi nevana.
- Ensure adequate ventilation during charging to prevent gas accumulation.
- Avoid sparks, flames, or smoking near the battery during charging. Batteries can produce explosive gases.
- Pfeka zvinodzivirira maziso uye zvipfeko zvinodzivirira paunenge uchishanda nemabhatiri.
- Always disconnect the AC power supply before connecting or disconnecting the battery clamps.
- Batanidza iyo tsvuku (+) clamp kune yakanaka bhatiri terminal uye dema (-) clamp kune negative battery terminal.
- Do not attempt to charge frozen, damaged, or non-rechargeable batteries.
- Do not open the charger casing. Tumira masevhisi ese kuvashandi vanokwanisa.
- Kana tambo yekugovera yakanganiswa, inofanirwa kutsiviwa nemugadziri, mumiriri webasa, kana vanhu vanokwanisa zvakafanana kudzivirira njodzi.
3. Chigadzirwa Pamusoroview
The NEDIS BACCH02 is a compact and automatic battery charger. It features a main unit with LED indicators and a voltage selection switch, connected to an AC power cable and DC output cables with battery clamps.

Image: The main unit of the NEDIS BACCH02 charger, showing the LED indicators for polarity and charge status, and the voltage kusarudza chinja.
Zvikamu:
- Charger Unit: Main body containing the electronics.
- Voltage Selection Switch: Allows selection between 2V, 6V, and 12V charging modes.
- Polarity LED (Red): Indicates incorrect battery connection.
- Charge LED (Green): Indicates charging status (blinking for charging, solid for fully charged).
- Bhatiri Clamps: Red (+) and Black (-) for connecting to the battery terminals.
- AC Power Cable: Yekubatanidza kune soketi yemadziro.
4. Setup
Follow these steps to set up your battery charger:
- Ensure Charger is Unplugged: Before making any connections, ensure the charger's AC power cable is disconnected from the wall outlet.
- Ziva Voliyumu yeBhatiritage: Sarudza iyo voltage of the battery you intend to charge (2V, 6V, or 12V).
- Select Correct Voltage: Shandisa voltage selection switch on the charger unit to set the appropriate voltage (2V, 6V, or 12V) for your battery.
- Batanidza Bhatiri Clamps:
- Batanidza iyo tsvuku (+) bhatiri clamp kune yakanaka (+) terminal yebhatiri.
- Batanidza iyo nhema (-) bhatiri clamp kune negative (-) terminal yebhatiri.
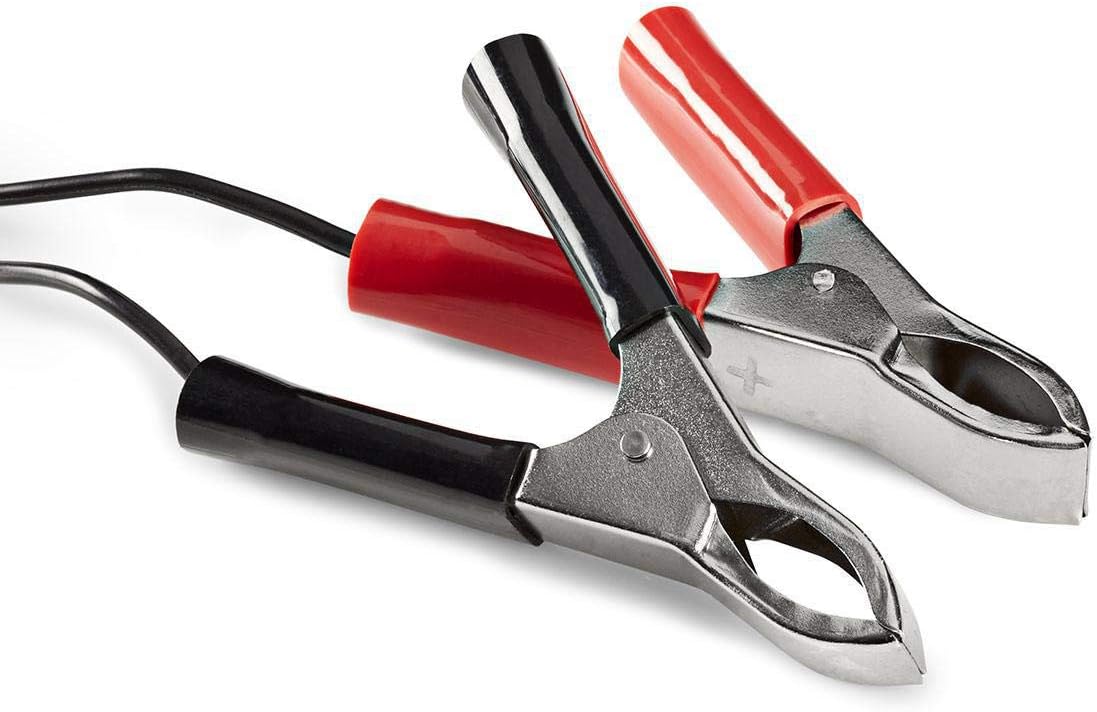
Image: Close-up of the red (positive) and black (negative) battery clamps.
- Batanidza kuSimba: Kamwe bhatiri clamps are securely connected, plug the charger's AC power cable into a standard 220V wall outlet.
5. Operating Instructions
The NEDIS BACCH02 is a fully automatic charger. Once connected to the battery and power, it will automatically begin the charging process.
Kuchaja Maitiro:
- Polarity Check: If the red 'Polarity' LED illuminates, it indicates that the battery clamps are connected incorrectly. Immediately unplug the charger from the AC outlet and correct the connections before plugging it back in.
- Charge Chiratidzo: The green 'Charge' LED will blink when the battery is actively charging.
- Full Charge Chiratidzo: When the battery is fully charged, the green 'Charge' LED will stop blinking and remain solid. The charger will then automatically switch to a maintenance (float) charge mode to keep the battery at optimal capacity without overcharging.
Kubvisa Charger:
To disconnect the charger after use:
- Unplug the charger's AC power cable from the wall outlet first.
- Disconnect the black (-) battery clamp from the negative terminal of the battery.
- Disconnect the red (+) battery clamp kubva kune yakanaka terminal yebhatiri.
6. Kuchengeta
Kugadzirisa kwakakodzera kunovimbisa kugara kwenguva refu kwechaja yako:
- Keep the charger clean and dry. Wipe with a soft, dry cloth. Do not use abrasive cleaners or solvents.
- Chengetedza charger munzvimbo inotonhorera, yakaoma kana isiri kushandiswa.
- Regularly inspect the AC power cable, DC output cables, and battery clamps kune chero zviratidzo zvekukuvadzwa, kupera, kana ngura. Dzorera kana zvakakodzera.
7. Kugadzirisa matambudziko
If you encounter issues with your charger, refer to the following table:
| Dambudziko | Zvinogona Kukonzera | Solution |
|---|---|---|
| Charger not turning on / No LEDs lit | No power supply; Faulty outlet; Damaged cable. | Check AC power connection; Try a different outlet; Inspect cable for damage. |
| Red 'Polarity' LED is lit | Reverse polarity connection. | Unplug charger, correct battery clamp connections (red to +, black to -), then plug back in. |
| Green 'Charge' LED not blinking / Battery not charging | Battery too deeply discharged; Incorrect voltage selected; Damaged battery. | Iva nechokwadi chekuti voltage is selected; Battery may be beyond recovery; Have battery tested by a professional. |
| Charger unit feels excessively hot | Normal operation (some warmth is expected); Overload; Internal fault. | Ensure adequate ventilation; Disconnect immediately if excessively hot and contact support. |
8. Zvinotsanangurwa
| Feature | Tsanangudzo |
|---|---|
| Model | BACCH02 |
| Item Model Number | 5412810284245 |
| Chiyamuro Voltage | 220V AC |
| Kubuditsa Voltage | 2V / 6V / 12V DC (selectable) |
| Suitable Battery Capacity | 2.2 Ah kusvika 10 Ah |
| Dziviriro Zvimiro | Reverse Polarity, Short Circuit |
| Zviyero zveChigadzirwa (L x W x H) | 7 x 10 x 6 cm |
| Item Weight | 680 magiramu |
| Kuteerera | CE |
| Color | Nhema |
9. Warranty uye Tsigiro
This product is covered by the standard warranty terms provided by the retailer at the time of purchase. For specific warranty details, please refer to your purchase documentation or contact the retailer directly.
For technical support, troubleshooting assistance beyond what is provided in this manual, or inquiries regarding parts and service, please contact your point of purchase or the manufacturer's customer service department.


