1. Nhanganyaya
This manual provides essential instructions for the safe and effective installation, operation, and maintenance of your YOTON Fuser Kit P/N RM1-8809. This fuser kit is designed for use with HP LaserJet M401, M401n, M401dn, and M401dw series printers. Please read this manual thoroughly before proceeding with any installation or maintenance to ensure proper function and to prevent damage to the printer or the fuser kit.
2. Safety Information
Nguva dzose chengetedza zvinotevera zvekuchengetedza:
- Ensure the printer is powered off and unplugged from the electrical outlet before beginning any installation or maintenance.
- Allow the fuser to cool down completely before handling, as it operates at high temperatures.
- Avoid touching the fuser roller directly, as oils from skin can affect print quality.
- Use caution when handling the fuser kit to prevent damage to its delicate components.
- Do not attempt to disassemble the fuser kit.
- Dispose of old fuser kits according to local regulations.
3. Package Zviri mukati
Tarisa kuti zvese zvirimo zviripo uye hazvina kukuvara pakuvhura package.
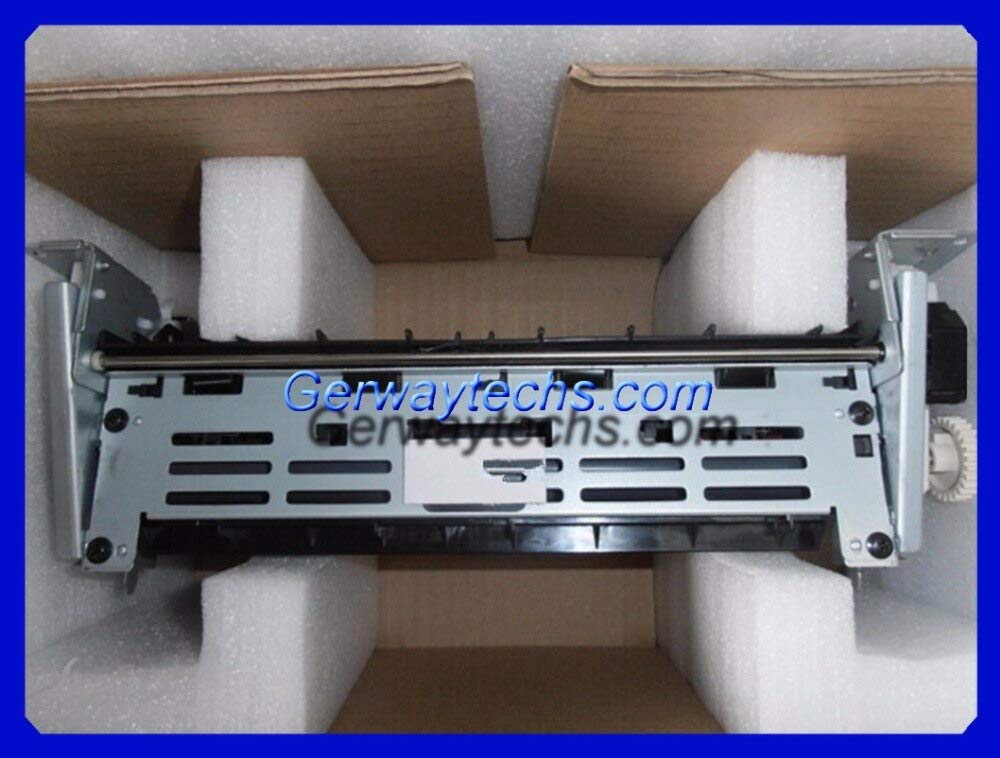
Image 1: Two YOTON Fuser Kits, P/N RM1-8809, in their protective packaging.
Pasuru yacho inofanira kunge iine:
- 1 x YOTON Fuser Kit 220V (P/N RM1-8809)
- (Optional) Installation guide or additional components as specified on the product packaging.
4. Setup uye Kuiswa
Follow these steps to replace the fuser kit in your HP LaserJet M401 series printer. Refer to your printer's official service manual for detailed instructions specific to your model if needed.
- Power Off uye Unplug: Turn off the printer and disconnect the power cord from the electrical outlet. Allow the printer to cool down for at least 15-30 minutes.
- Open Rear Door: Open the rear output bin or access door of the printer.
- Locate Fuser: Identify the fuser unit. It is typically located at the back of the printer and may have warning labels indicating high temperature.
- Release Fuser: Depending on your specific M401 model, there may be two blue or green tabs/levers on either side of the fuser. Press or pull these tabs to release the fuser.
- Remove Old Fuser: Carefully pull the old fuser unit straight out of the printer. Be cautious as it may still be warm.
- Unpack New Fuser: Remove the new YOTON Fuser Kit from its packaging. Avoid touching the fuser roller.
- Install New Fuser: Align the new fuser kit with the opening in the printer. Gently push it straight in until it clicks into place. Ensure the tabs/levers (if present) lock the fuser securely.
- Close Door: Close the rear output bin or access door.
- Reconnect Power: Plug the power cord back into the electrical outlet and turn on the printer.
- Reset Fuser Count (Optional): Some printer models require a manual fuser count reset after replacement. Consult your printer's user manual for instructions on how to reset the fuser page count, if applicable. This typically involves navigating through the control panel menu.
5. Operating Instructions
Once the fuser kit is installed, the printer should operate normally. The fuser is an integral part of the printing process, responsible for bonding toner to the paper using heat and pressure. No specific user operation is required for the fuser itself beyond its proper installation.
- Ita shuwa kuti printer yakabatana kune magetsi sosi uye yakabatidzwa.
- Isa bepa mutireyi yekupinza.
- Send a print job from your computer or device.
- Monitor print quality. If issues arise, refer to the troubleshooting section.
6. Kuchengeta
The fuser kit is a consumable part designed for a specific lifespan (page count). Regular maintenance of the fuser itself is generally not required beyond replacement when its lifespan is reached or when print quality issues indicate fuser wear.
- Fuser Lifespan: The printer's control panel or status reports will typically indicate the remaining fuser life. Replace the fuser when prompted by the printer or when print quality degrades significantly.
- Kuchenesa: Do not attempt to clean the fuser rollers with liquids or abrasive materials. If toner buildup occurs, it usually indicates a fuser nearing the end of its life or other printer issues.
- Kuchengeta: Store new fuser kits in their original, sealed packaging in a cool, dry place away from direct sunlight.
7. Kugadzirisa matambudziko
If you encounter issues after installing the new fuser kit, consider the following:
| Dambudziko | Zvinogona Kukonzera | Solution |
|---|---|---|
| Wrinkled or creased pages | Improper fuser installation, worn fuser rollers, paper path issue. | Re-seat the fuser kit. Check for any obstructions in the paper path. Ensure paper is loaded correctly. |
| Toner not fusing to paper (smudging) | Fuser not reaching correct temperature, faulty fuser, incorrect paper type settings. | Verify the fuser is correctly installed. Check printer settings for paper type. Ensure the fuser is the correct voltage (220V yemuenzaniso uyu). |
| Repeated error messages (e.g., "Fuser Error") | Fuser not properly seated, faulty fuser, printer firmware issue. | Turn off and unplug the printer, then re-install the fuser. If the error persists, the fuser may be defective or there's an issue with the printer itself. |
| No change in print quality after replacement | The original print quality issue was not fuser-related, or the new fuser is defective. | Consult your printer's diagnostic tools. Consider other components like toner cartridge or transfer roller. |
If troubleshooting steps do not resolve the issue, contact YOTON customer support or a qualified service technician.
8. Zvinotsanangurwa
| Feature | Detail |
|---|---|
| Product Name | YOTON Fuser Kit |
| Chikamu Nhamba (P/N) | RM1-8809 |
| Voltage | 220V |
| Kugarisana | HP LaserJet M401, M401n, M401dn, M401dw |
| Mugadziri | Yoton |
| ASIN | B07RJS6Z9Y |
9. Warranty uye Tsigiro
For warranty information and technical support, please refer to the documentation provided with your purchase or contact YOTON customer service directly. Keep your purchase receipt as proof of purchase.
Contact Information:
- Refer to your product packaging or the seller's webwebhusaiti yeruzivo rwekubatsirana rwemazuva ano.


