1. Chigadzirwa Pamusoroview
The Montech X2 MESH is an ATX mid-tower computer case designed for PC enthusiasts and builders. It features a fine mesh front panel for optimal airflow, a full tempered glass side panel to showcase internal components, and comes with three pre-installed rainbow LED fans (two 140mm at the front and one 120mm at the rear) to ensure efficient cooling and aesthetic appeal.
This manual provides essential information for setting up, operating, maintaining, and troubleshooting your Montech X2 MESH case.

Mufananidzo 1: Montech X2 MESH Mid-Tower Case with Tempered Glass Side Panel.
2. Setup uye Kuiswa
Follow these steps for installing your components into the Montech X2 MESH case. Ensure all power is disconnected before beginning installation.
2.1 Kuvhura Nyaya
- Carefully remove the tempered glass side panel by unscrewing the thumb screws located at the rear of the case.
- Gently slide the glass panel backward and lift it off. Place it on a soft, flat surface to prevent scratches or damage.
- Remove the opposite steel side panel by unscrewing its thumb screws and sliding it backward.
2.2 Kuisirwa mamaboardboard
The X2 MESH supports ATX, Micro-ATX, and Mini-ITX motherboards.
- Isa shield yeI/O (kana isina kuiswa kare pabhodhi reamai rako) muburi rekumashure rebhokisi.
- Align your motherboard with the standoffs inside the case. Ensure the standoffs match your motherboard's form factor.
- Secure the motherboard using the provided screws. Do not overtighten.

Mufananidzo 2: Internal layout indicating ATX, Micro-ATX, Mini-ITX motherboard compatibility and fan mounting points.
2.3 Kuisa Simba Chikamu (PSU) Kuisirwa
The case accommodates standard ATX power supply units, with a recommended maximum length of approximately 180mm.
- Mount your PSU into the dedicated compartment at the bottom rear of the case.
- Secure it with screws from the rear of the case.
2.4 Kuisa Dhiraivha Yekuchengetera Zvinhu
The case provides mounting points for HDDs and SSDs.
- Locate the drive bays/mounts behind the motherboard tray or in the PSU shroud area.
- Install your 2.5" SSDs or 3.5" HDDs into the appropriate trays or mounting points and secure them.

Mufananidzo 3: Rear panel view highlighting wiring space, HDD/SSD mounting locations, and PSU area.
2.5 Cable Management
Utilize the wiring space behind the motherboard tray to route and organize cables. This improves airflow and aesthetics.
- Route power cables (24-pin ATX, 8-pin CPU, PCIe) and data cables (SATA) through the grommets and cutouts.
- Use cable ties or Velcro straps to bundle cables neatly.
- Connect front panel headers (USB, audio, power/reset switches, LED indicators) to your motherboard.
3. Kushanda
Once all components are installed and cables connected, you can power on your system.
3.1 Kubatidza
- Ensure all external peripherals are connected.
- Connect the power cable to your PSU and a wall outlet.
- Flip the power switch on the PSU to the 'ON' position.
- Press the power button on the top panel of the Montech X2 MESH case.
3.2 Fan Operation and Lighting
The Montech X2 MESH comes with three pre-installed rainbow LED fans: two 140mm fans at the front and one 120mm fan at the rear. These fans provide high airflow for cooling your components.
- The fans feature fixed rainbow LED lighting. The fan color cannot be changed or customized.
- Ensure the fan power connectors are properly connected to your motherboard or PSU. Note that some older fan connectors might be Molex.

Mufananidzo 4: Pre-installed fixed rainbow LED fans (2x 140mm, 1x 120mm).
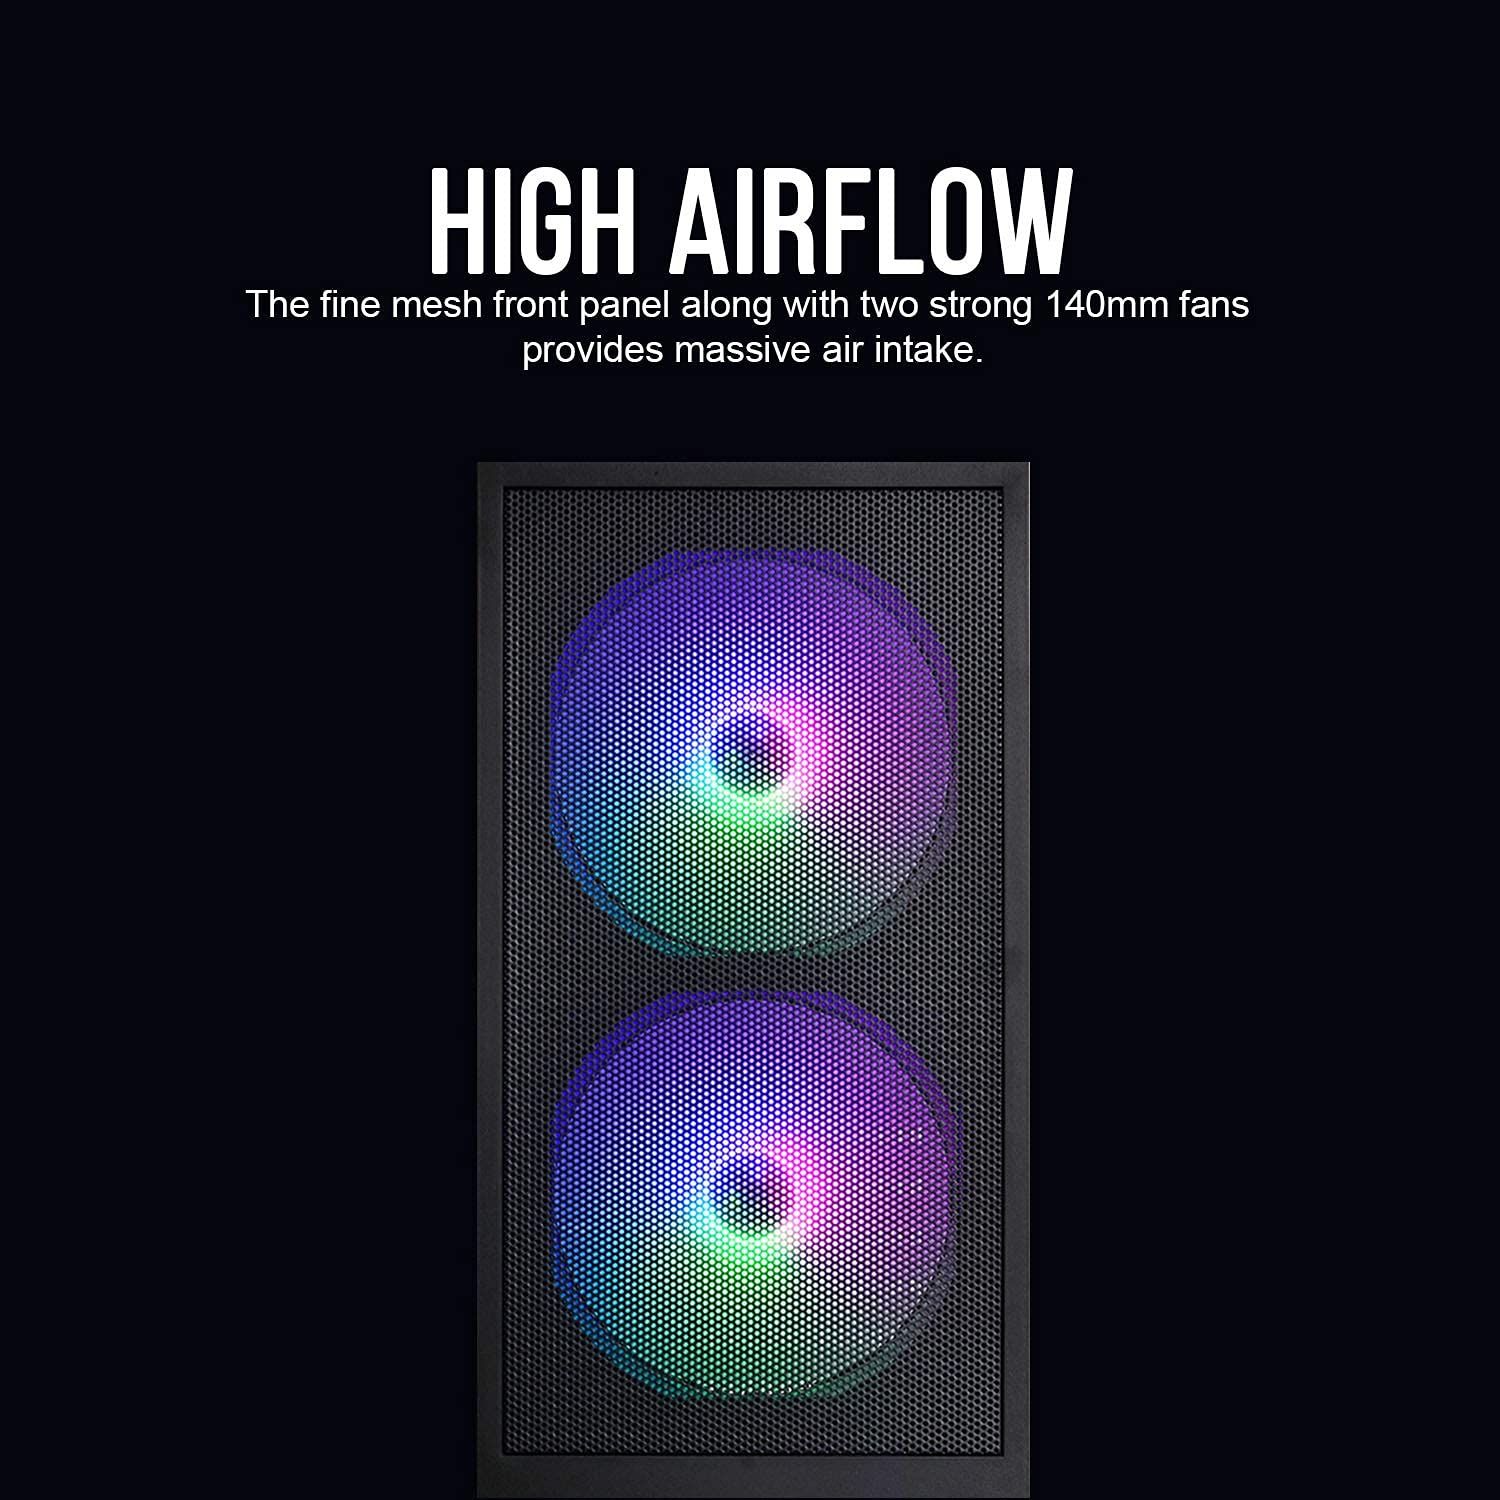
Mufananidzo 5: Fine mesh front panel designed for high airflow.
4. Kuchengeta
Regular maintenance helps ensure optimal performance and longevity of your computer components.
4.1 Dust Cleaning
- Front Mesh Panel: Periodically clean the fine mesh front panel to prevent dust buildup, which can restrict airflow. Use a soft brush or compressed air.
- Mukati: With the system powered off and unplugged, open the side panels and use compressed air to remove dust from fans, heatsinks, and other components.
4.2 Kutarisirwa kweGirazi Rinodziya
- Clean the tempered glass side panel with a microfiber cloth and a non-abrasive glass cleaner.
- Avoid harsh chemicals or abrasive materials that could scratch the glass.
- Handle the glass panel carefully to prevent accidental drops or impacts.
5. Kugadzirisa matambudziko
Ichi chikamu chinotarisa zvinowanzoitika zvaungasangana nazvo.
5.1 Sistimu Haisi Kubatidzwa
- Check if the PSU switch is in the 'ON' position.
- Ensure all power cables (24-pin ATX, 8-pin CPU, PCIe) are securely connected to the motherboard and components.
- Verify that the front panel power switch cable is correctly connected to the motherboard's front panel header.
5.2 Fans Not Spinning or Lighting Up
- Confirm that the fan power connectors are properly seated on the motherboard or PSU.
- If using Molex connectors, ensure they are fully connected.
- The pre-installed fans have fixed rainbow LED lighting and do not offer customization.
5.3 Difficulty with Motherboard Installation
- Ensure you are using the correct standoffs for your motherboard's form factor (ATX, Micro-ATX, Mini-ITX).
- For full ATX motherboards, cable routing might be tighter. Ensure cables are routed efficiently through the designated wiring space.
- Avoid overtightening screws, as this can strip them or damage the motherboard.
6. Zvinotsanangurwa
| Feature | Detail |
|---|---|
| Model | X2 MESH |
| Nyaya Type | Mid tower |
| Color | Nhema |
| Material | Tempered Glass, Simbi, Plastiki |
| Dimensions (LxWxH) | 38 x 19 x 44.7 cm |
| Item Weight | 1 kg |
| Motherboard Kuenderana | ATX, Micro ATX, Mini ITX |
| Pre-yakaiswa Fans | 2 x 140mm Rainbow LED (Front), 1 x 120mm Rainbow LED (Rear) |
| Special Features | Fine Mesh Front Panel, Tempered Glass Side Panel, Rainbow LED Fans |
| Kuenderana kwePSU | Standard ATX (up to ~180mm length) |
| Drive Bays | HDD, SSD (specific quantities not detailed in source, but implied) |
7. Warranty uye Tsigiro
For warranty information and technical support, please refer to the official Montech webtsvaga webhusaiti kana kuti taura nemutengesi wemuno. Chengeta humbowo hwekutenga kwako kuti zvikubatsire kuwana garandi.
Importer Contact (India): Tirupati Enterprises, 11 Robert Street, 1st Floor, Kolkata - 700012. Phone - 033-40037713.