1. Nhanganyaya
This manual provides comprehensive instructions for the installation, operation, and maintenance of your MT-VIKI 8-Port 1U Rack Mount KVM HDMI Console. This integrated unit combines an 8-port KVM switch, a 17.3-inch 1080P LCD monitor, a keyboard, and a touchpad into a single 1U rack-mountable chassis, designed for efficient management of up to 8 computers or servers.
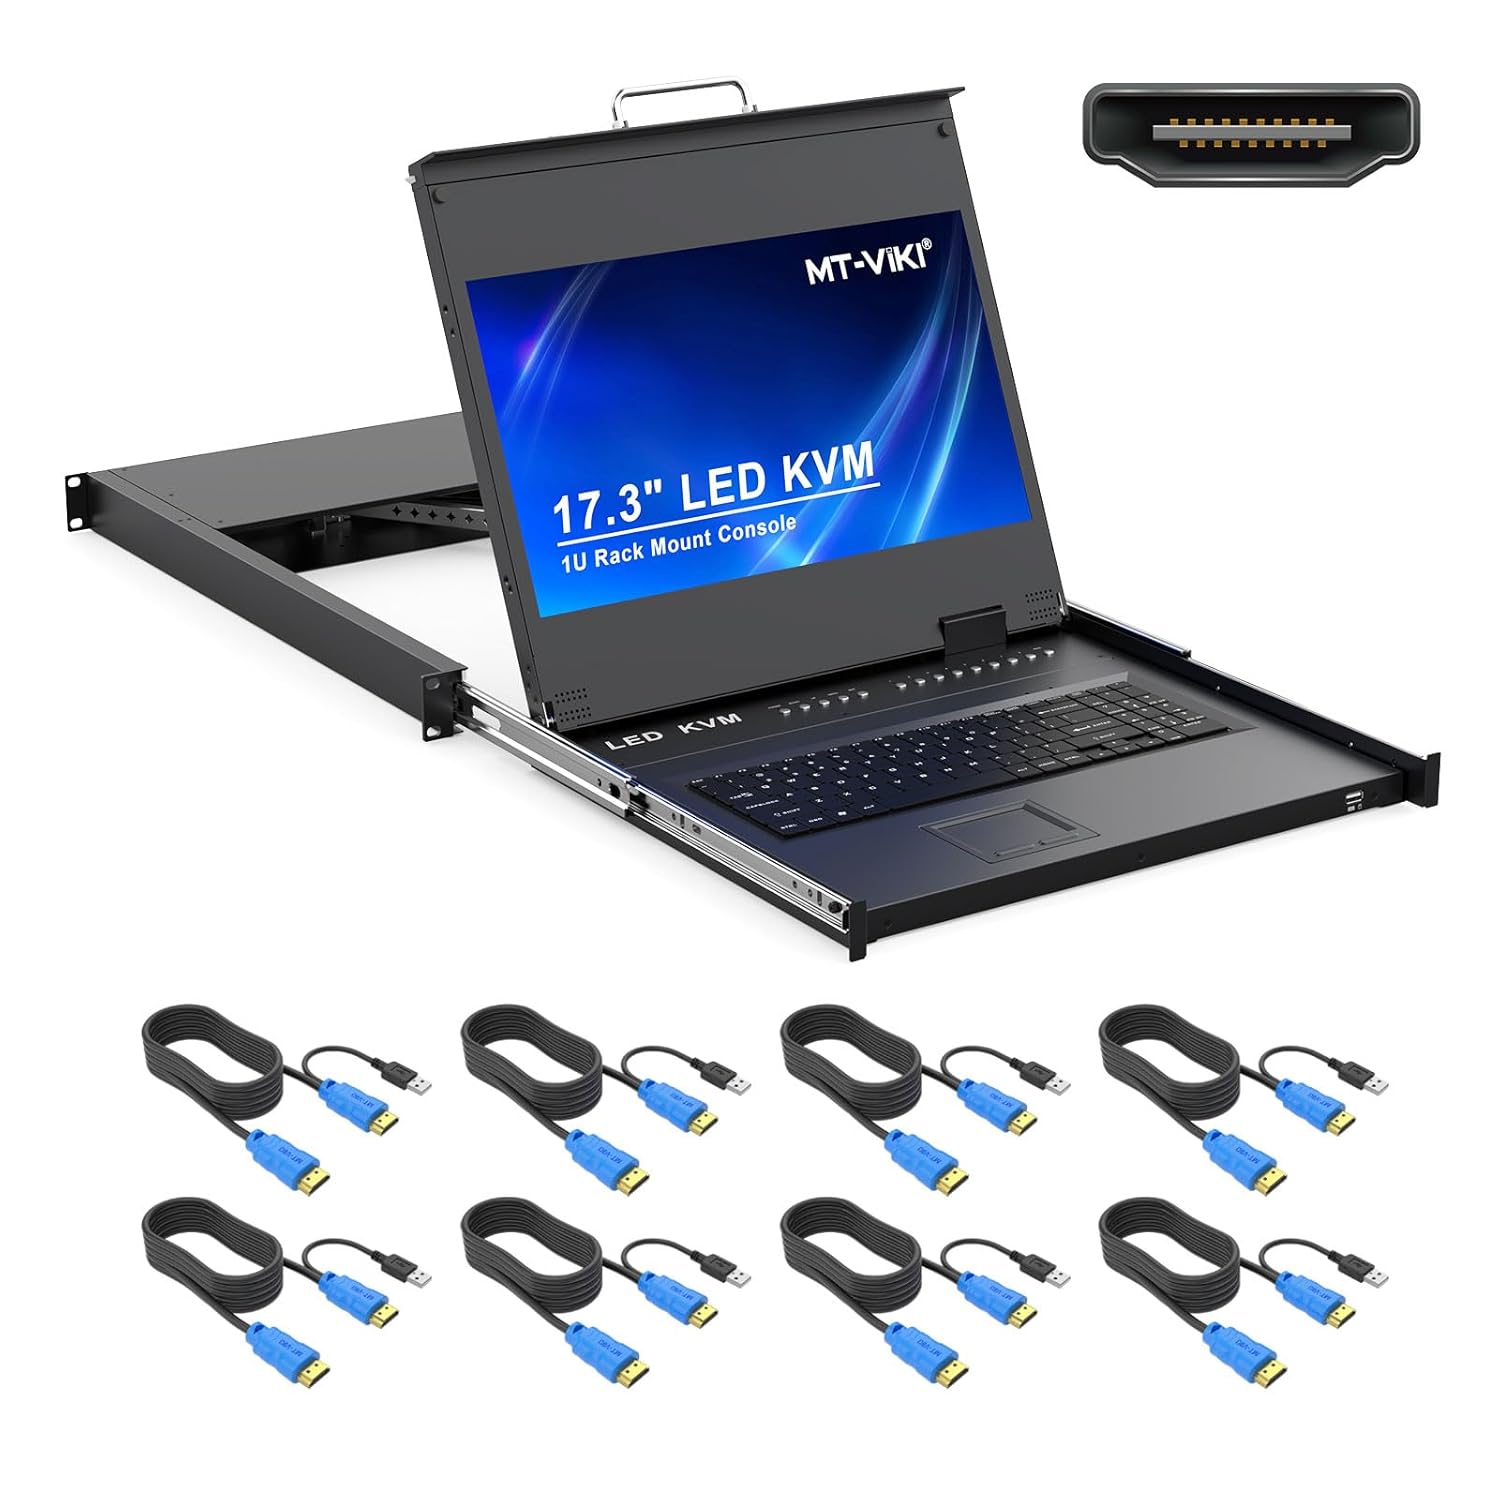
Image 1.1: MT-VIKI 8-Port 1U Rack Mount KVM HDMI Console with included KVM cables.
2. Chigadzirwa Pamusoroview
2.1 Mamiriro Akakosha
- Yakabatanidzwa Dhizaini: Combines an 8-port KVM switch, 17.3-inch LCD monitor, keyboard, and touchpad in a compact 1U rack-mountable unit.
- Kuratidzwa Kwemhando Yepamusoro: 17.3-inch LCD monitor supports 1920x1080P resolution at 60Hz.
- HDMI Kubatanidza: Supports HDMI input for high-definition video.
- Multiple Switch Methods: Switch between connected computers using OSD menu, keyboard hotkeys, or front panel push buttons.
- Rack Compatibility: Designed to fit standard 1U 19-inch server racks with an adjustable mounting depth range of 23.6 inches (60cm) to 31.8 inches (81cm).
- Durable Construction: Features an aluminum and steel chassis for reduced weight and enhanced sturdiness.
- Broad OS Kuenderana: Compatible with DOS, Windows, Linux, Unix, and Mac OS 8.6/9/10.
2.2 Zvikamu
Familiarize yourself with the various components and ports of the KVM console.
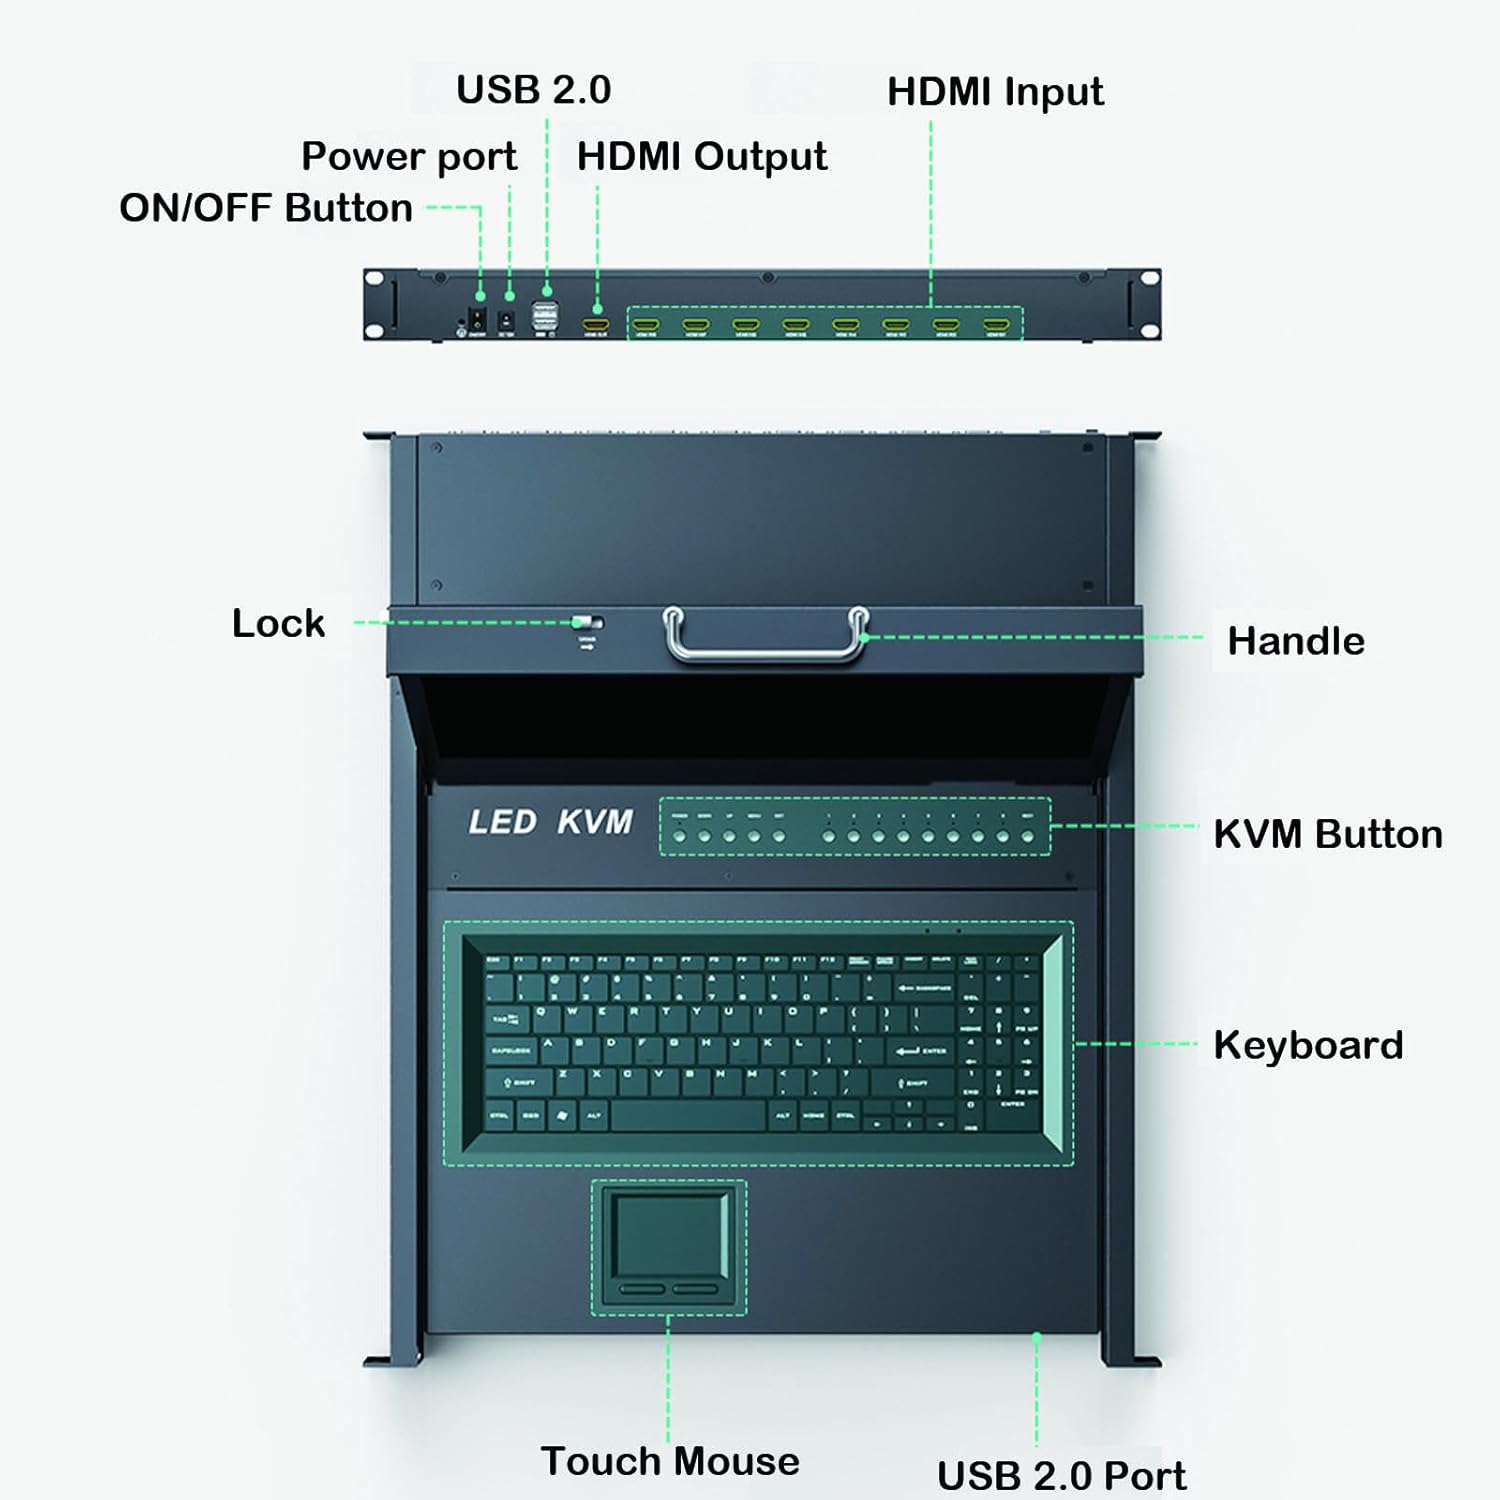
Image 2.1: Front and Rear Panel Components.
- Front Panel: Handle, Lock, KVM Buttons (for port selection), Keyboard, Touch Mouse (Touchpad), USB 2.0 Port.
- Rear Panel: Power Port, ON/OFF Button, USB 2.0 Ports, HDMI Input Ports (for connecting to servers), HDMI Output (for external monitor, if supported by model).
3. Package Zviri mukati
Tarisa kuti zvinhu zvese zvakanyorwa pazasi zvinosanganisirwa mupakeji yako:
- MT-VIKI 8-Port 1U Rack Mount KVM HDMI Console (VC-17308HL)
- 12V Simba Adapter
- 8 x 2-in-1 KVM Cables (HDMI + USB)
- User Manual
- DVI Cable (25+4) 27" (for internal display connection)
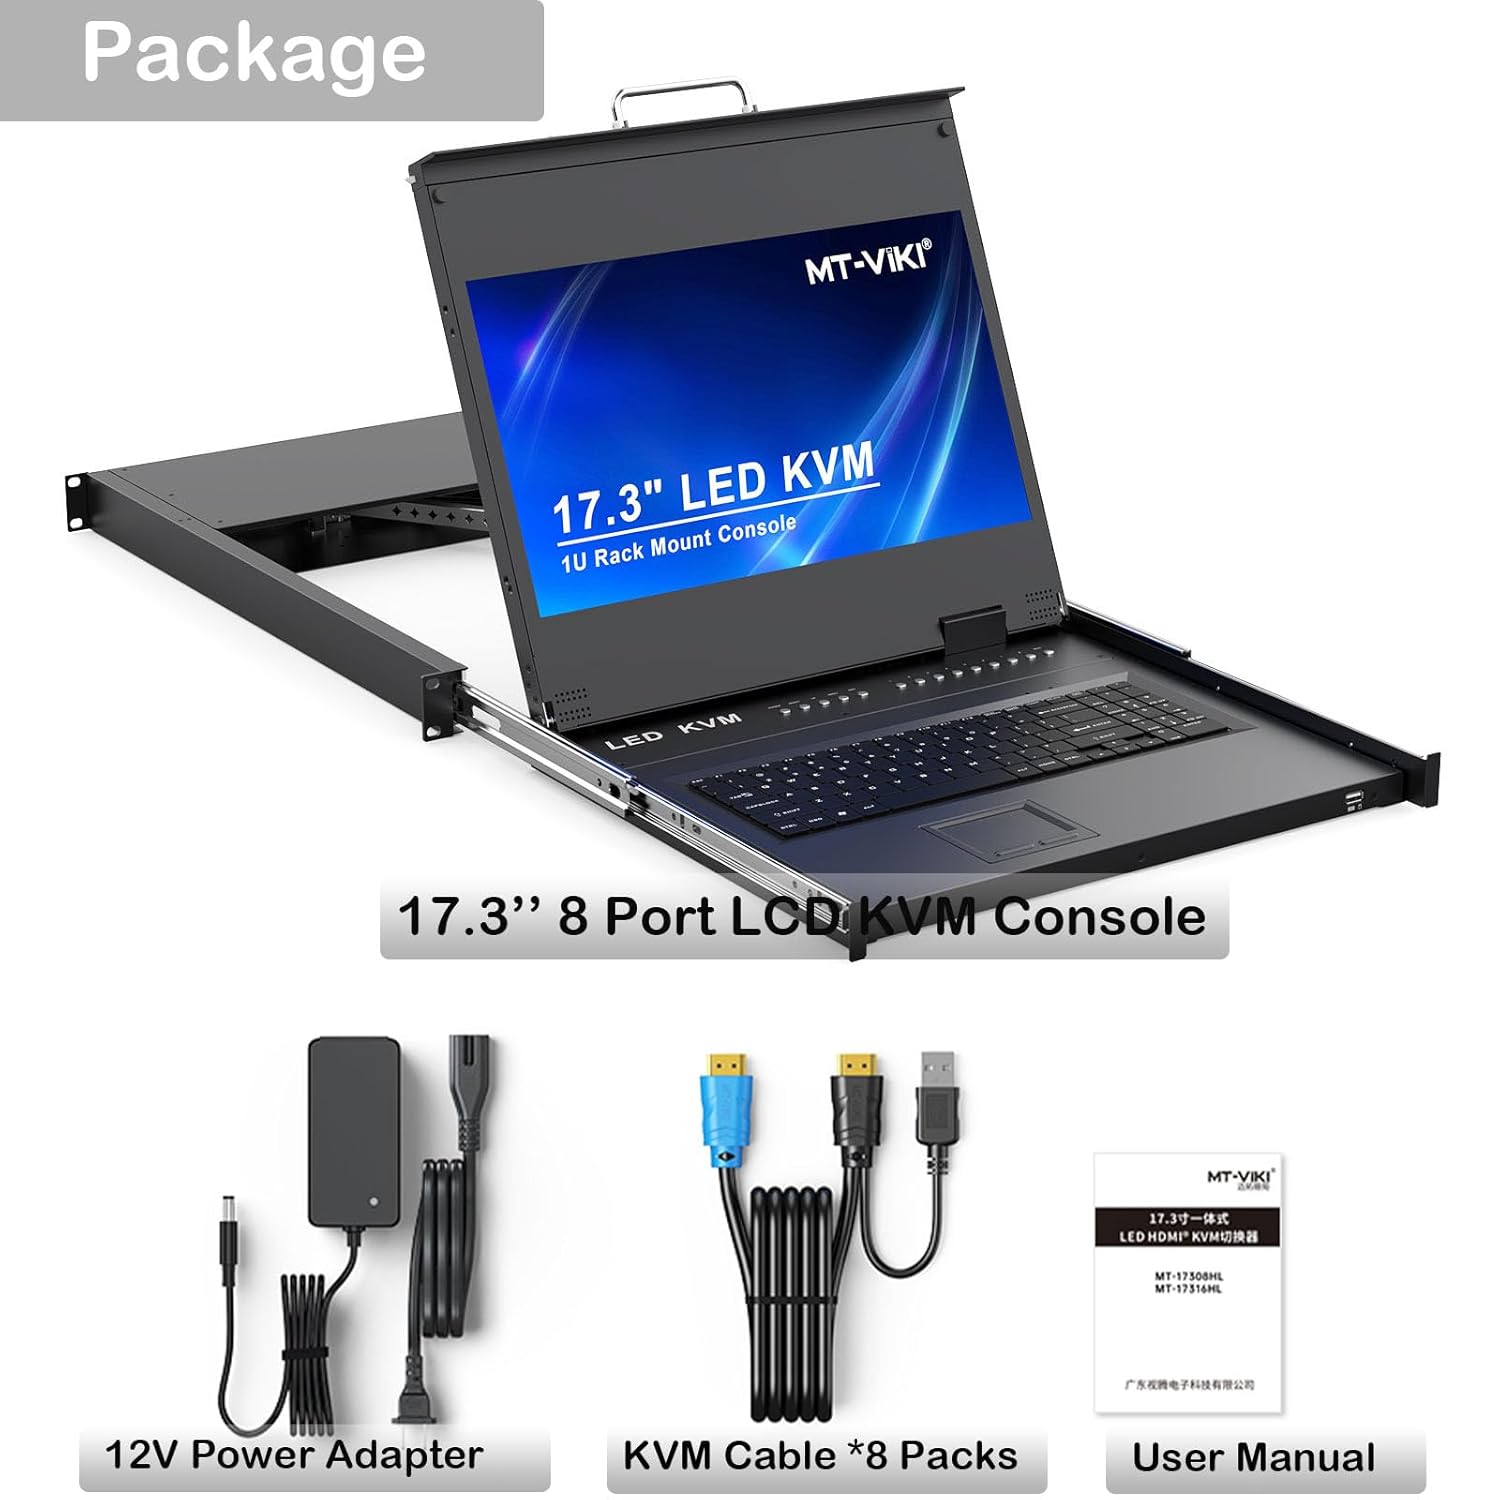
Image 3.1: Included Package Contents.
4. Kuiswa
Follow these steps to properly install your KVM console into a 19-inch server rack.
4.1 Kukwidza Rack
- Gadzirira Raki: Ensure your 19-inch rack has sufficient space (1U height) and the mounting depth is within the supported range of 23.6 inches (60cm) to 31.8 inches (81cm).
- Install Rear Brackets: Open the rear door of the cabinet. Select the appropriate height and install the KVM modular and bracket to the cabinet rails.
- Isa Console: At the front of the cabinet, carefully insert the KVM console into the installed brackets.
- Console Yakachengeteka: Fix the cabinet screws to secure the KVM console firmly in place.

Image 4.1: KVM Console Mounted in a 1U Rack, illustrating mounting depth.

Image 4.2: Step-by-step installation diagram.
4.2 Cable Connections
- Connect Internal Display: Connect the KVM modular to the internal display via the provided DVI cable.
- Connect Servers: Use the included 2-in-1 KVM cables to connect your servers to the KVM switch. Each KVM cable has an HDMI connector for video and a USB connector for keyboard/mouse. Connect the HDMI end to the server's HDMI output and the USB end to the server's USB port. Connect the other end of the KVM cable to the corresponding HDMI input port on the KVM console.
- Power Connection: Connect the 12V power adapter to the KVM console's power port and then plug it into an electrical outlet.

Image 4.3: Connection diagram for the KVM console.
5. Operating Instructions
The MT-VIKI KVM console offers three methods for switching between connected computers.
5.1 Switching Methods
- Front Panel Push Buttons: Press the corresponding numbered button on the front panel of the KVM console to switch to the desired port.
- Keyboard Hotkeys: Use specific key combinations on the integrated keyboard to switch ports. Refer to the hotkey section in the detailed user manual for specific commands.
- Pa-Screen Display (OSD) Menyu: Access the OSD menu on the monitor to select ports, configure settings, and manage connected devices. The OSD menu provides a graphical interface for control.

Image 5.1: Three methods for switching between KVM ports.
6. Kuchengeta
To ensure the longevity and optimal performance of your KVM console, follow these maintenance guidelines:
- Kuchenesa: Use a soft, dry cloth to clean the exterior surfaces. For the LCD screen, use a specialized screen cleaner and a microfiber cloth. Avoid abrasive cleaners or solvents.
- Kufefetedza Ensure that the ventilation openings on the unit are not obstructed to prevent overheating.
- Cable Management: Keep cables neatly organized to prevent strain on connectors and improve airflow within the rack.
- Magetsi: Use only the provided power adapter. If a replacement is needed, ensure it matches the original specifications (12V).
7. Kugadzirisa matambudziko
This section addresses common issues you might encounter with your KVM console.
7.1 Hapana Chiratidziro paMonitor
- Tarisa Simba: Ensure the KVM console is powered on and the power adapter is securely connected to both the unit and a working power outlet.
- Cable Connections: Verify that all HDMI and DVI cables are securely connected between the KVM console, servers, and the internal display.
- Mamiriro eSeva: Confirm that the connected server is powered on and outputting a video signal.
- Port Selection: Ensure the correct KVM port is selected using the front panel buttons, hotkeys, or OSD menu.
7.2 Kibhobho kana Mouse Isiri Kupindura
- USB Connections: Check that the USB cables from the servers are properly connected to the KVM console.
- Port Selection: Confirm that the correct KVM port is active.
- Reboot: Try restarting the KVM console and the connected server.
- External Mouse: If using an external USB mouse, ensure it is connected to the designated USB port.
7.3 Unit Beeping or Unresponsive
- Power Adapter: A faulty power adapter can cause erratic behavior. If possible, test with a known good 12V power adapter.
- Power Cycle: Turn off the unit, disconnect the power for a few minutes, then reconnect and power on.
8. Zvinotsanangurwa
| Feature | Tsanangudzo |
|---|---|
| Model Number | VC-17308HL |
| Kukura Kwekuratidza | 17.3 inches |
| Resolution | 1920 x 1080P |
| Refresh Rate | 60Hz |
| KVM Ports | 8 (HDMI) |
| Rack Size | 1U 19-inch |
| Kudzika Kudzika | 23.6" (60cm) to 31.8" (81cm) |
| Zviyero zveChigadzirwa (W×D×H) | 18.9 × 23.6 × 1.77 inches (480x600x45mm) |
| Kurema | Anenge 30.95 Pounds |
| Kushanda Voltage | 12 Volts |
| Connector Type | HDMI, USB |
| Kudzora Nzira | Push Button, Hotkey, OSD Menu, Touchpad |
| Material | Alloy Steel |
| International Protection Rating | IP56 |
9. Warranty uye Tsigiro
MT-VIKI products are designed for reliability and performance. For warranty information, technical support, or service inquiries, please refer to the contact details provided with your purchase documentation or visit the official MT-VIKI website. Chengeta risiti yako yekutenga yezvichemo zvewaranti.


