1. Nhanganyaya
Thank you for choosing the InFocus P120 INL412 Multimedia Projector. This manual provides essential information for the safe and efficient operation of your projector. Please read it thoroughly before using the device and retain it for future reference. The InFocus P120 INL412 is designed for versatile multimedia presentations, offering clear and vibrant images for various applications.
2. Safety Information
To ensure safe operation and prevent damage to the projector, please observe the following safety precautions:
- Usavhara maburi emhepo. Iva nechokwadi chekuti pane nzvimbo yakakwana yakakomberedza purojekita kuti mweya ufambe zvakanaka kudzivirira kupisa zvakanyanya.
- Regedza kutarisa zvakananga mupurojekita lenzi kana iyo lamp iri, sezvo chiedza chakajeka chinogona kukonzera kukuvara kwemaziso.
- Do not place the projector on an unstable cart, stand, or table. The projector may fall, causing serious injury to a child or adult, and serious damage to the unit.
- Disconnect the power cord from the wall outlet if the projector will not be used for an extended period.
- Refer all servicing to qualified service personnel. Do not attempt to open or repair the projector yourself.
- Keep the projector away from water or moisture. Do not expose it to rain or immerse it in liquid.
- Use only the power cord supplied with the projector or an authorized replacement.
3. Package Zviri mukati
Verify that all items listed below are included in your projector package:
- InFocus P120 INL412 Multimedia Projector
- Power Cord
- Remote Control nemabhatiri
- VGA Cable
- Mushandisi Chinyorwa (gwaro iri)
- Quick Start Guide
4. Chigadzirwa Pamusoroview
Familiarize yourself with the main components of your InFocus P120 INL412 projector.
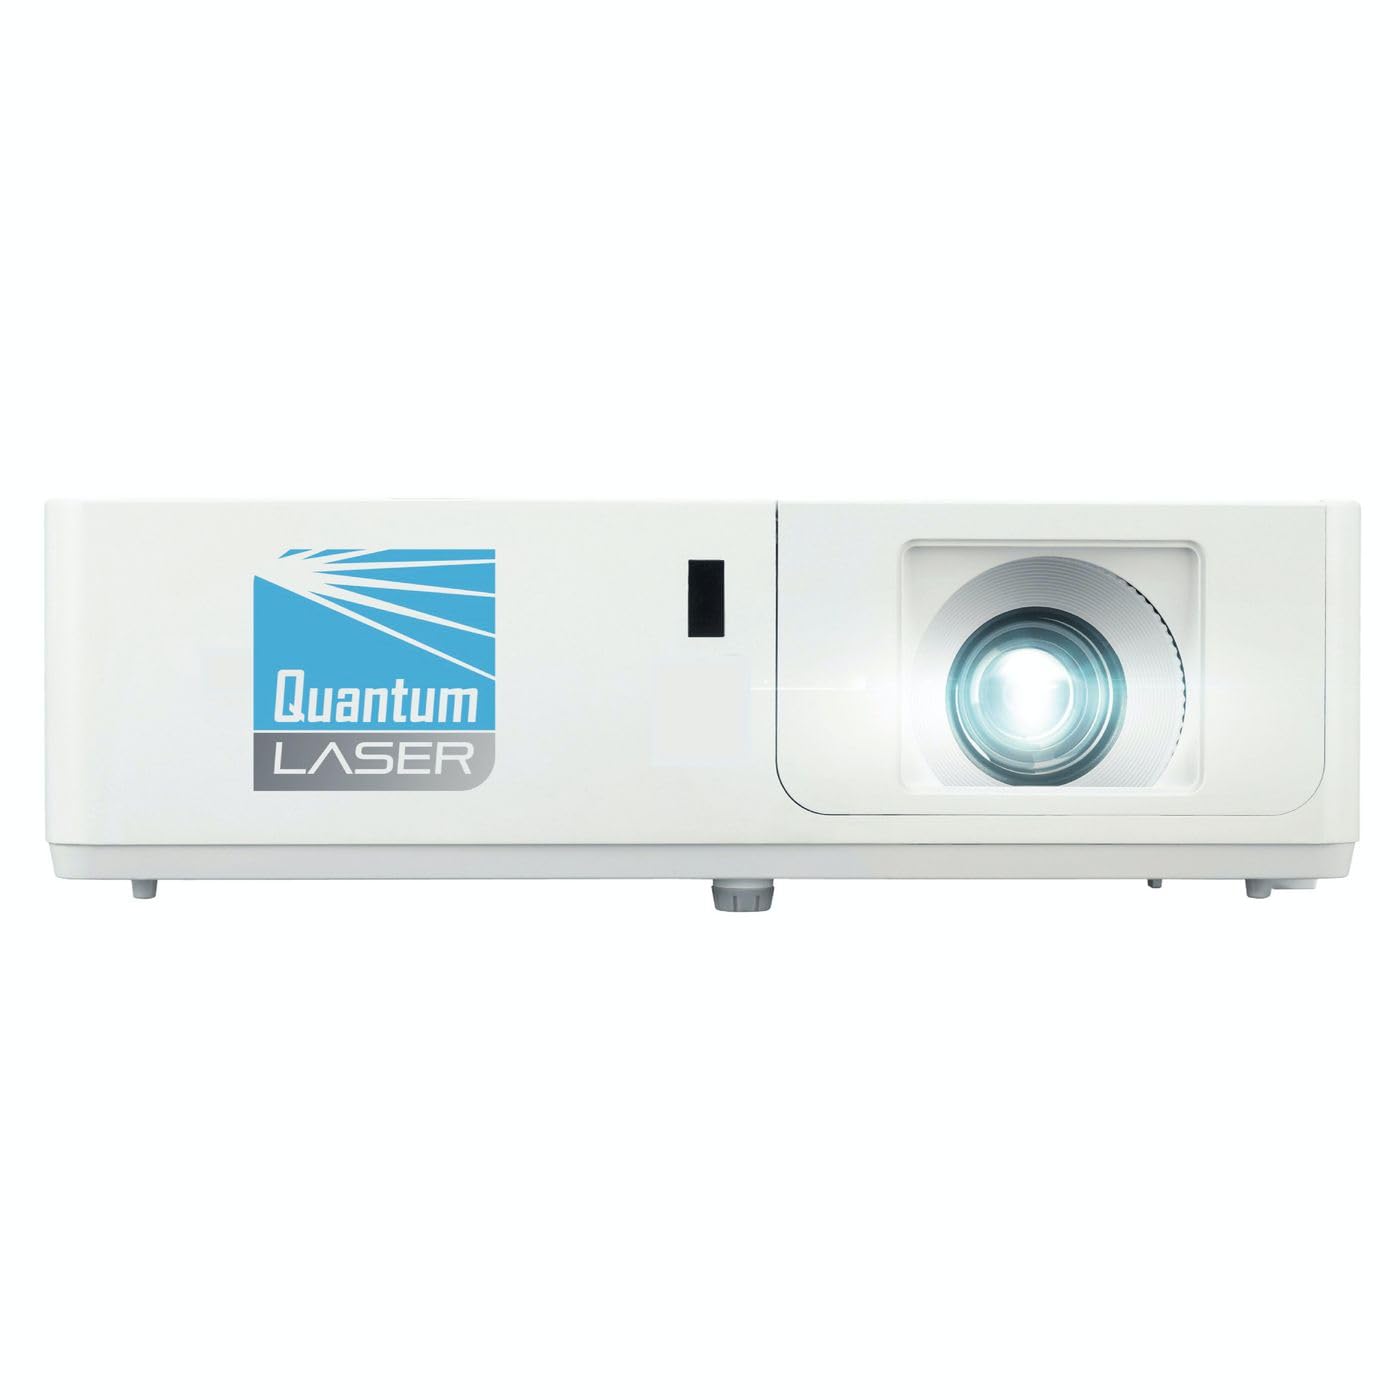
Mufananidzo 1: Mberi view of the InFocus P120 INL412 Multimedia Projector, showing the lens and ventilation grilles.
4.1 Pamberi Panel
- Projection Lens: Inoburitsa mufananidzo pachidzitiro.
- Funga Mhete: Inogadzirisa kujeka kwemufananidzo wakaratidzwa.
- Zoom Ring: Inogadzirisa saizi yemufananidzo wakaratidzwa.
- IR mugamuchiri: Inogamuchira zviratidzo kubva kure kure.
4.2 Pamusoro Paneli
- Control Panel: Buttons for power, menu navigation, source selection, and keystone correction.
- Indicator Lights: Display the projector's status (e.g., power, lamp, temperature).
4.3 Rear Panel (Kubatana)
- HDMI Inzwa Zvinotaurwa: Connects to HDMI-enabled devices (laptops, Blu-ray players).
- VGA Input: Connects to computers with VGA output.
- USB Port: For service or connecting USB devices (if supported by model).
- Audio In/Out: For connecting external audio sources or speakers.
- Power Inlet: Inobatanidza tambo yemagetsi.
5. Setup
Tevedza matanho aya ekutanga kuseta yepurojekita yako:
- Kuiswa: Place the projector on a stable, flat surface or mount it securely. Ensure the projector is positioned at an appropriate distance from the screen to achieve the desired image size.
- Power Connection: Connect the power cord to the projector's power inlet and then to a grounded electrical outlet.
- Connect Source Device: Connect your source device (e.g., laptop, DVD player) to the projector using an appropriate cable (HDMI, VGA, etc.). Ensure the cable is securely connected to both the source and the projector.
- Power On: Press the power button on the projector's control panel or the remote control to turn on the projector. The power indicator light will illuminate.
- Adjust Focus and Zoom: Once an image is projected, rotate the focus ring on the lens until the image is sharp and clear. Use the zoom ring to adjust the image size to fit your screen.
- Keystone Kugadziriswa: If the image appears trapezoidal, use the keystone correction function (either via buttons on the projector/remote or through the on-screen menu) to square the image.
6. Operating Instructions
6.1 Simba On/Kudzima
- Kubatidza: Press the power button once. The projector will go through a warm-up sequence.
- Kudzima: Press the power button twice. The first press will prompt a shutdown confirmation; the second press will initiate shutdown. Allow the projector to cool down completely before unplugging.
6.2 Source Selection
Press the 'Source' button on the projector or remote control to cycle through available input sources (HDMI, VGA, etc.) until your desired source is displayed.
6.3 Menyu Navigation
Press the 'Menu' button to access the on-screen display (OSD) menu. Use the arrow buttons to navigate through options and 'Enter' or 'OK' to select. Use the 'Exit' or 'Menu' button to close the OSD.
- Mifananidzo Settings: Adjust brightness, contrast, color, aspect ratio, and picture mode.
- Display Settings: Configure keystone, projection mode (front/rear, desktop/ceiling), and resolution.
- Audio Settings: Control volume and audio output options.
- System Settings: Manage language, timer, power-saving modes, and factory reset.
7. Kuchengeta
Kugadziriswa nguva dzose kunoita kuti purojekita yako ishande zvakanaka uye kunoita kuti irambe ichirarama kwenguva refu.
- Kuchenesa Lens: Pukuta zvinyoro nyoro lenzi yepurojekita nejira rakapfava, risina ruvara rakagadzirirwa nzvimbo dzinopenya. Usashandise zvinochenesa zvinorema kana simba rakawandisa.
- Cabinet Cleaning: Use a soft, dry cloth to clean the projector's exterior. For stubborn marks, dampen the cloth slightly with water. Avoid using harsh chemicals.
- Kuchenesa/Kutsiva Sefa Yemhepo: Check the air filter periodically. If your model has a removable filter, clean it with a soft brush or vacuum cleaner. Replace the filter as recommended in the on-screen menu or when visibly dirty to maintain proper ventilation.
- Lamp Kutsiva: Purojekita lamp ine hupenyu husingagumi. Kana lamp life indicator appears, or the image brightness significantly decreases, replace the lamp according to the instructions provided in the full service manual or by a qualified technician. Always allow the projector to cool down completely before attempting lamp kutsiva.
8. Kugadzirisa matambudziko
Tarisa kune tafura iri pazasi kune zvakajairika nyaya uye mhinduro dzadzo:
| Dambudziko | Zvinogona Kukonzera | Solution |
|---|---|---|
| Hapana mufananidzo waratidzwa | Power cord disconnected, incorrect input source, source device off. | Check power connections. Select correct input source. Ensure source device is powered on. |
| Mufananidzo hauna kujeka | Lens out of focus, incorrect projection distance. | Adjust the focus ring on the lens. Reposition the projector closer or further from the screen. |
| Mufananidzo uri trapezoidal | Purojekita haisi yakatarisana nechidzitiro. | Use keystone correction (manual or automatic) to square the image. |
| Purojekita inopisa zvakanyanya uye inodzima | Blocked ventilation, dirty air filter. | Ensure clear space around vents. Clean or replace the air filter. |
| Remote control haisi kushanda | Dead batteries, obstruction between remote and projector, incorrect angle. | Replace batteries. Ensure clear line of sight to IR receiver. Point remote directly at the projector. |
9. Zvinotsanangurwa
Key technical specifications for the InFocus P120 INL412 Multimedia Projector:
| Feature | Tsanangudzo |
|---|---|
| Model Number | P120 INL412 (Item model number: 7296144) |
| Display Type | DLP |
| Native Resolution | 1280 x 800 |
| Maximum Display Resolution | 1280 x 800 |
| Kubatana Technology | USB (and other standard inputs like HDMI, VGA) |
| Product Dimensions | 5.25 x 0.31 x 1.66 inches |
| Item Weight | 6.6 makirogiramu |
| Mugadziri | In Focus |
10. Warranty uye Tsigiro
The InFocus P120 INL412 Multimedia Projector comes with a standard manufacturer's warranty. Please refer to the warranty card included in your package for specific terms and conditions, including warranty duration and coverage details. For technical support, service, or further inquiries, please visit the official InFocus support websaiti kana kubata dhipatimendi ravo rebasa revatengi.
Kuti uwane ruzivo rwerutsigiro rwemazuva ano, ndapota shanya: www.infocus.com/support


