Nhanganyaya
This manual provides comprehensive instructions for the installation, operation, and maintenance of your new SCREENARAMA 15.6" FHD 144Hz 40pin IPS LCD LED Display replacement screen. This product is specifically designed for Dell G15 5520, 5525, P105F, and P105F007 laptop models. Please read this manual carefully before proceeding with the installation to ensure proper functionality and to avoid damage.

Image: Replace a broken screen and get your laptop back running.
Product Overview
The SCREENARAMA replacement screen is a high-quality 15.6-inch Full HD (1920x1080) IPS display with a 144Hz refresh rate. It features a matte finish and a narrow bezel design for an enhanced viewing experience. Each screen undergoes rigorous quality control testing to ensure optimal performance.
- Resolution: 1920x1080 (Yakazara HD)
- Refresh Rate: 144Hz
- Type yekubatanidza: 40-pini
- Panel Type: IPS (In-Plane Switching) for wide viewing angles
- Surface: Matt
- Bezel: Narrow
- Touchscreen: Not a touchscreen display

Image: The SCREENARAMA replacement screen, showing the display panel, a box with the brand logo, and the complimentary installation tools and adhesive tape.

Image: Complimentary set of tools and adhesive tape provided for screen installation.

Image: Illustration of a quality control tested screen and secure packaging in bubble wrap and a firm box.
Kugarisana Zvinodiwa
It is critical to verify the compatibility of this replacement screen with your specific laptop model. This screen is compatible only with Dell G15 5520, 5525, P105F, and P105F007 models that originally came with a 15.6-inch, 1920x1080 (FHD), 144Hz, 40-pin, non-touch display.
- Resolution Match: The replacement screen is 1920x1080 (FHD). It will not function correctly if your original screen had a different resolution (e.g., 1366x768, 1600x900, 3840x2160).
- Connector Pin Count: This screen uses a 40-pin video connector. Ensure your original screen also has a 40-pin connector. It is not compatible with 30-pin connectors.
- Touchscreen Basa: This is an LCD screen only and does not support touchscreen functionality. If your original laptop had a touchscreen, this replacement will not provide that feature.
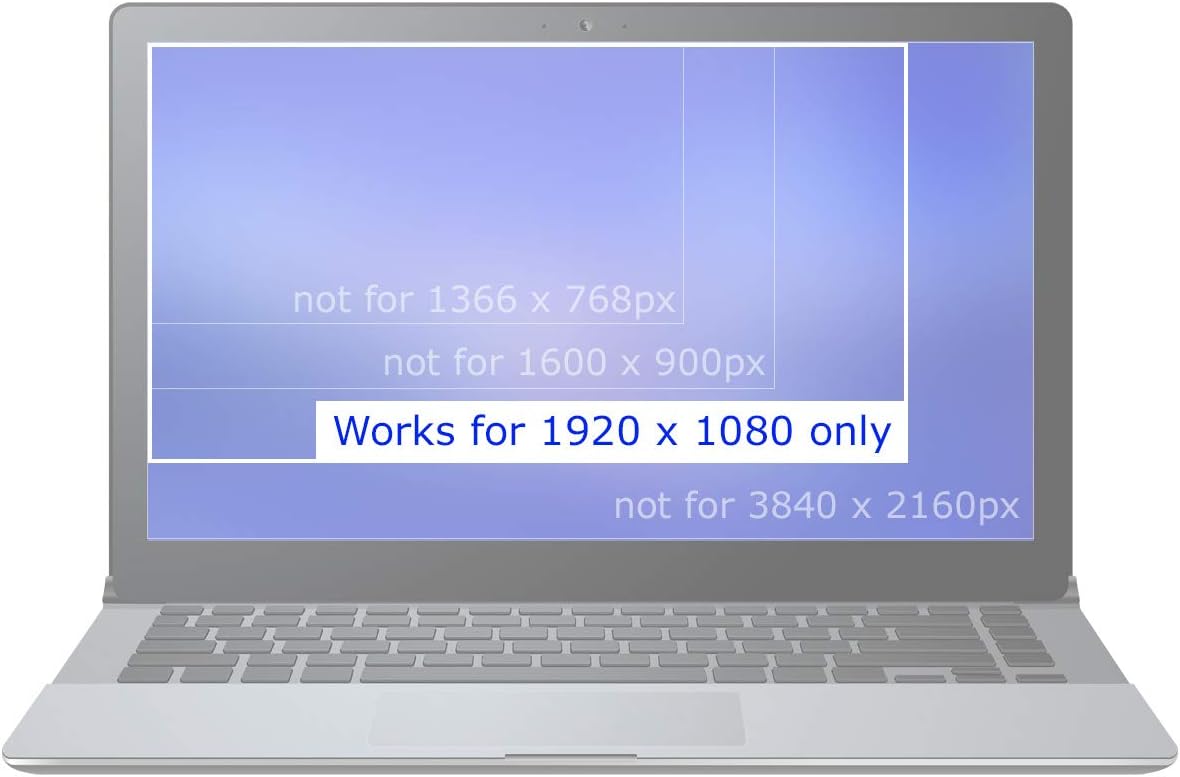
Image: Visual representation emphasizing that the screen only works for 1920x1080 resolution and is not compatible with other resolutions.

Mufananidzo: Zvakadzama view comparing a 40-pin video connector (compatible) and a 30-pin video connector (incompatible), highlighting the difference.

Image: Clear indication that the product is an LCD screen only and does not include touchscreen functionality.
Setup uye Installation
Screen replacement can be a delicate process. It is recommended to consult online video tutorials specific to your Dell G15 model for detailed step-by-step guidance. Always ensure your laptop is powered off and the battery is disconnected before beginning any installation.
General Installation Matanho:
- Kugadzirira: Power off your laptop and disconnect the AC adapter. Remove the battery if it is external. For internal batteries, disconnect the battery cable from the motherboard.
- Bezel Removal: Carefully remove the front bezel (frame) around the screen. This may involve prying clips or removing small screws hidden under rubber covers.
- Unmounting the Old Screen: Unscrew the old screen from its mounting brackets. Lay it face down on the keyboard.
- Kubvisa Cables: Gently peel back any tape securing the video cable connector. Carefully unlatch the connector and pull the cable straight out. Be extremely careful not to damage the connector or the cable.
- Installing the New Screen: Connect the new screen's video cable, ensuring it is fully seated and secured with the latch and any adhesive tape provided.
- Mounting the New Screen: Mount the new screen into the brackets and secure it with screws.
- Reattaching Bezel: Carefully reattach the front bezel, ensuring all clips snap into place.
- Power On: Reconnect the battery cable (if internal) and then the AC adapter. Power on the laptop to test the new screen.
The complimentary tool kit includes various prying tools, screwdrivers, and adhesive tape to assist with the installation process.

Mufananidzo: Rear view of the 15.6" 144Hz FHD screen, highlighting the precise location of the 40-pin video connector.
Vhidhiyo: pfupiso pfupiview of the 15.6" FHD 40pin Matte 144Hz screen, emphasizing that it is not a touchscreen and has no tabs. This video provides a visual confirmation of the screen's features and connector type.
Operating Principles
This replacement screen utilizes In-Plane Switching (IPS) technology, which offers significant advantages over older Twisted Nematic (TN) panels.
- IPS Technology: IPS panels provide superior color accuracy and much wider viewing angles compared to TN panels. This means colors remain consistent and vibrant even when viewed from the sides, top, or bottom.
- 144Hz Refresh Rate: A 144Hz refresh rate means the screen can display up to 144 frames per second, resulting in smoother motion and a more fluid visual experience, particularly beneficial for gaming and fast-paced video content.

Image: Illustrates the difference between IPS and TN screen technologies, highlighting the superior viewing angles and color vibrancy of IPS panels.
Maintenance
Proper care will extend the lifespan and maintain the performance of your new screen.
- Kuchenesa: Shandisa jira re microfiber rakapfava, risina jira rakagadzirirwa zvemagetsi. Kune tsvina yakaoma, bvisa tsvina yakawanda.ampen the cloth with distilled water or a screen-safe cleaning solution. Never spray liquid directly onto the screen.
- Kubata: Avoid touching the screen surface with bare hands. When closing the laptop lid, ensure no objects are left on the keyboard that could press against the screen.
- Dziviriro: Consider using a screen protector if you frequently transport your laptop or are concerned about scratches.
- Tembiricha: Avoid exposing the laptop to extreme temperatures or direct sunlight for prolonged periods.
Kugadzirisa matambudziko
If you encounter issues after installing the new screen, follow these troubleshooting steps:
- Verify Laptop Functionality: Connect an external monitor to your laptop. If the external monitor displays an image, it confirms that the laptop's motherboard and graphics card are operational.
- Check Pin Count: Double-check that the number of pins on your original LCD's connector matches the 40-pin connector of the new screen. Incompatibility here will prevent the screen from working.
- Blank Image: If the screen remains blank, power off the laptop, disconnect the battery, and carefully reconnect the video cable on both the screen and motherboard sides. Ensure the connector is fully seated and secured with adhesive tape. Verify that the connector itself is not damaged.
- Dambudziko Rinoramba Richienderera Mberi: If the problem persists and is identical to the issue experienced with the old LCD, the problem is likely not with the screen but with another component of the laptop (e.g., motherboard, video card, video cable).
- Dim Image: If the image is dim, try reconnecting the old LCD (if it still functions partially). If both LCDs do not light up or are dim, check the backlight fuse, which is typically located near the video connector on the motherboard.

Image: A visual summary of common troubleshooting steps for display issues after screen replacement.
Zvinotsanangurwa
| Feature | Detail |
|---|---|
| Screen Size | 15.6 inches |
| Resolution | FHD (Full High Definition) 1920x1080 |
| Refresh Rate | 144Hz |
| Connector Type | 40-pini |
| Panel Type | IPS (In-Plane Switching) |
| Surface Finish | Matt |
| Bezel Rudzi | Narrow bezel |
| Touchscreen | Aihwa |
| Kugarisana | Dell G15 5520, 5525, P105F, P105F007 (must match original screen specs) |
| Included Accessories | Complimentary set of tools and adhesive tape |
Warranty uye Support
Your SCREENARAMA replacement screen comes with a 2-makore waranti, guaranteeing compatibility and quality. For any questions, technical assistance, or warranty claims, please contact SCREENARAMA customer support. Refer to your purchase documentation for specific contact details.


