1. Nhanganyaya
This manual provides essential instructions for the safe and efficient operation of your RadioShack Home Projector. Please read this manual thoroughly before using the device and retain it for future reference.
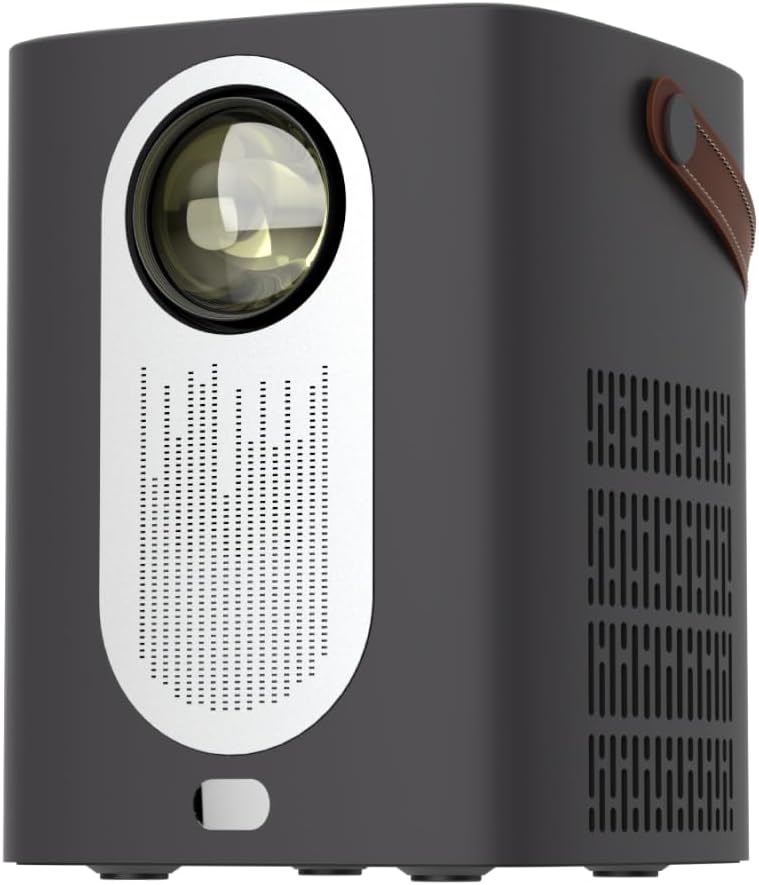
Mufananidzo 1.1: Mberi view of the RadioShack Home Projector, showcasing its lens and speaker grille.
2. Package Zviri mukati
Tarisa uone kuti zvinhu zvese zviripo mupakeji:
- 1 x RadioShack Home Projector
- 1 x Remote Control
- 1 x Power Cable
- 1 x Chinyorwa cheMushandisi (gwaro iri)

Image 2.1: Illustration of the package contents, including the projector, remote control, power cable, and user manual.
3. Chigadzirwa Pamusoroview
3.1. Key Features
- High-Resolution Display: Supports full HD resolution for clear and detailed images.
- Bright and Long-Lasting: Features impressive brightness and a durable light source.
- Kubatana kwakasiyana-siyana: Includes Bluetooth, WiFi, Android Miracast, and iOS Cast for streaming.
- Enhanced Viewing: Digital focus and keystone correction for optimal image alignment.
- Compact uye Inotakurika: Lightweight design with a handle for easy transport.
3.2. Machiteshi uye Kudzora
Familiarize yourself with the projector's input/output ports and controls.

Mufananidzo 3.1: Kumashure view of the projector showing USB input for media playback, AV input for DVD players, and HDMI input for various devices like video game consoles, streaming sticks, cell phones, tablets, and laptops.

Mufananidzo 3.2: Kurutivi view illustrating the compact dimensions (approximately 7 inches tall, 5.3 inches wide) and the integrated leather handle for portability.
4. Setup Guide
4.1. Chekutanga Power On
- Connect the power cable to the projector and a suitable power outlet.
- Press the power button located on the top of the projector or on the remote control to turn on the device. The indicator light will illuminate.
- The RadioShack logo will appear on the projection surface, indicating successful power-on.
Video 4.1: A short demonstration showing the unboxing, connecting the power cable, powering on the projector, and the initial display of the RadioShack logo.
4.2. Placement and Focus
- Place the projector on a stable, flat surface, ensuring the lens is unobstructed.
- Adjust the distance from the projection surface (wall or screen) to achieve the desired image size.
- Use the digital focus adjustment (refer to the remote control or on-screen menu) to sharpen the image.
- Utilize keystone correction if the image appears trapezoidal, to achieve a rectangular projection.
5. Operating Instructions
5.1. Kubatanidza Zvishandiso
Iyo purojekita inotsigira akawanda ekuisa masosi:
- HDMI: Connect devices such as laptops, gaming consoles, streaming boxes, or Blu-ray players using an HDMI cable. Select HDMI as the input source from the projector's menu.
- USB: Insert a USB drive to play compatible video or audio files. Select USB as the input source.
- YE: Connect older devices like DVD players using an AV cable. Select AV as the input source.
- Bluetooth: Pair with Bluetooth audio devices for wireless sound output.
- WiFi / Casting: Connect to a Wi-Fi network to enable Android Miracast or iOS Cast for screen mirroring from compatible smartphones and tablets.

Image 5.1: A couple enjoying content projected by the RadioShack Home Projector, demonstrating its use in a home cinema setting.
5.2. Remote Control Mabasa
The included remote control allows for convenient operation:
- Simba: Batidza/dzima purojekita.
- Kwakabva: Select input sources (HDMI, USB, AV, etc.).
- Navigation Arrow keys to navigate menus, OK button to confirm.
- Vhoriyamu: Gadzirisa nhanho yekubuda kweaudio.
- Focus/Kiyiro: Access digital focus and keystone correction settings.

Image 5.2: The RadioShack Home Projector placed on a table next to its remote control, ready for use.
6. Kuchengeta
- Kuchenesa Lens: Shandisa jira rakapfava, risina ruvara rwakagadzirirwa malenzi ekuona kuti upukute zvinyoro nyoro lenzi yepurojekita. Dzivisa zvinhu zvinokwesha kana makemikari akaomarara.
- Kuchenesa Kunze: Pukuta kunze kwepurojekita nejira rakapfava, rakaoma. Usashandise mishonga yekuchenesa mvura zvakananga pamudziyo.
- Kufefetedza Ensure the projector's ventilation openings are clear of dust and obstructions to prevent overheating.
- Kuchengeta: Kana isiri kushandiswa kwenguva yakareba, chengetedza purojekita munzvimbo inotonhorera, yakaoma, kure nezuva rakananga uye tembiricha yakanyanyisa.
7. Kugadzirisa matambudziko
| Dambudziko | Zvinogona Kukonzera | Solution |
|---|---|---|
| Hapana mufananidzo waratidzwa | Power cable disconnected; incorrect input source selected; lens cap on. | Check power connection; select correct input source (HDMI, USB, AV); remove lens cap. |
| Mufananidzo hauna kujeka | Focus isina kugadziriswa; purojekita iri padyo zvakanyanya/kure kubva pachidzitiro. | Adjust digital focus; reposition projector for optimal distance. |
| Hapana ruzha | Volume too low; external audio device not connected/paired; incorrect audio output selected. | Increase volume; ensure Bluetooth device is paired or wired audio is connected; check audio output settings. |
| Remote control haisi kushanda | Batteries depleted; obstruction between remote and projector. | Replace remote control batteries; ensure clear line of sight to the projector's IR receiver. |
8. Zvinotsanangurwa
- Brand: RadioShack
- Muenzaniso: Home Projector (ASIN: B0DP1GFG9L)
- Ratidza Resolution: 1280 x 720 (Supports Full HD)
- Kubatana Technology: AV, HDMI, USB, Bluetooth, WiFi (Android Miracast, iOS Cast)
- Special Features: Portable, Digital Focus, Keystone Correction
- Inokurudzirwa Kushandiswa: Home Cinema
- Zviyero zvechigadzirwa: 5.31 x 5.31 x 7.09 inches
- Chinhu Weight: 3.91 makirogiramu

Image 8.1: The projector displaying content, highlighting its support for full HD resolution and high-quality sound.
9. Warranty uye Tsigiro
For warranty information and technical support, please refer to the official RadioShack websaiti kana kubata basa ravo revatengi. Chengeta risiti rako rekutenga seumboo hwekutenga.
Rutsigiro rwepamhepo: www.radioshack.com


