1. Nhanganyaya
This manual provides essential information for the safe and effective operation of your ComMarker Titan1 60W JPT Mopa Fiber Laser Engraving Machine. Please read this manual thoroughly before operating the device to ensure proper usage and to prevent damage or injury. The ComMarker Titan1 is designed for high-precision engraving and marking on various materials, including metals, plastics, and jewelry, offering advanced features like color marking and 3D engraving capabilities.
2. Safety Information
The ComMarker Titan1 is a Class 1 Laser Product (IEC 60825-1 Report Number: 2501Q25848E-SFA1, FDA Accession No.: 2521455-000). Despite being a Class 1 product, proper safety precautions are crucial during operation.
- Always wear appropriate laser safety goggles when operating the machine.
- Ensure the work area is well-ventilated to dissipate fumes and particles generated during engraving.
- Never look directly into the laser beam or at reflections from shiny surfaces.
- Keep flammable materials away from the engraving area.
- Do not operate the machine if any covers are removed or safety interlocks are bypassed.
- Ita shuwa kuti muchina wakadzikwa zvakanaka.
- Ziva nzvimbo uye mashandiro ebhatani rekumisa nekukurumidza.
3. Package Zviri mukati
Iva nechokwadi chekuti zvinhu zvese zvakanyorwa pazasi zviri mupakeji yako. Kana paine zvinhu zvisipo kana kuti zvakakuvara, taura nerutsigiro rwevatengi.

Mufananidzo: Pamusoroview of the ComMarker Titan1 60W JPT Mopa Fiber Laser Engraving Machine and its accessories.
- ComMarker Titan1 Laser Engraver Body
- Power Adapter
- Data Cable
- Tsoka Shandura
- Laser Kuchengetedza Goggles
- Allen Wrench Set
- USB Drive (containing software and drivers)
- Mutongi
- Ground Waya
- Placing Helper (material positioning aids)
- Sample Materials (Rings, Metal Pendants, Pendants)
4. Zvigadzirwa zveChigadzirwa
- 60W JPT Mopa Laser Source: Provides high-speed engraving up to 15,000mm/s and supports color marking on stainless steel.
- Kururama Kwepamusoro: Achieves 8K HD accuracy with a precision of 0.01mm.
- Nzvimbo Yakakura Yokuveza: Maximum engraving area of 300mm x 300mm.
- Motorized Elevation: Features electric lifting for precise height adjustment and focusing.
- Dual Focusing Modes: Supports both manual and electric focusing for optimal results.
- Software kugarisana: Compatible with Lightburn and EzCad2 software.
- Wide Material Compatibility: Engraves stainless steel, aluminum, gold, silver, alloys, most painted products, and non-transparent plastics.
- 3D Engraving & Cutting: Capable of creating depth effects and performing cutting tasks on suitable materials.
- Hupenyu Hurefu: Designed for durability with a laser source lifespan of 100,000 hours.


5. Setup Guide
- Kuburitsa: Nyatsobvisa zvese zvikamu kubva pakurongedza. Chengetedza kurongedza kune ramangwana rekufambisa kana kuchengetedza.
- Gungano: Place the laser engraver body on a stable, level surface. Connect the laser head assembly to the main unit, ensuring all fasteners are secure.
- Power Connection: Connect the power adaptor to the machine and then to a grounded electrical outlet (110V).
- Grounding: Attach the provided ground wire to the designated grounding point on the machine and to a suitable ground source.
- Data Connection: Connect the data cable from the machine to your computer.
- Kuiswa kweSoftware: Insert the USB drive into your computer. Install the provided EzCad2 software and drivers. If using Lightburn, download and install the latest version from the official Lightburn website.
- Safety Goggles: Always put on the laser safety goggles before powering on the machine.
6. Operating Instructions
- Power On: Ensure all connections are secure and safety goggles are worn. Press the power button on the machine.
- Software Launch: Open EzCad2 or Lightburn software on your computer.
- Kuiswa kwezvinhu: Place the material to be engraved on the work platform. Use the placing helpers if needed to secure the material.
- Kutarisa: Adjust the laser head height using the motorized elevation until the laser is properly focused on the material surface. You can use either manual or electric focusing. Refer to the software's focusing guide for precise adjustment.
- Design Import/Creation: Import your design (BMP, GIF, JPG, JPEG, DXF, DST, AI, etc.) or create a new one within the software.
- Parameter Settings: Set the appropriate laser parameters (power, speed, frequency, passes) based on the material type and desired engraving effect (e.g., color marking, deep engraving, cutting).
- Preview (Red Light): Use the red light preview function in the software to verify the engraving area and position on your material.
- Tanga Engraving: Once satisfied with the preview and parameters, initiate the engraving process from the software. You may use the foot switch for convenient start/stop control.
- Monitoring: Supervise the engraving process. In case of any issue, press the emergency stop button immediately.
- Power Off: After engraving is complete, power off the machine and disconnect it from the power source.
7. Kuchengeta
- Kuchenesa Lenzi: Regularly inspect and clean the laser lens with a specialized lens cleaning solution and lint-free wipes to ensure optimal laser performance.
- Nzvimbo yebasa: Keep the work platform and surrounding area clean from debris and dust.
- Kufefetedza Ensure the ventilation system is clear and functioning properly to prevent accumulation of fumes and particles.
- Cable Inspection: Periodically check all cables for signs of wear or damage. Replace any damaged cables immediately.
- Zvigadziriso zveSoftware: Keep your engraving software (Lightburn, EzCad2) updated to the latest version for best performance and compatibility.
8. Kugadzirisa matambudziko
| Dambudziko | Zvinogona Kukonzera | Solution |
|---|---|---|
| Laser haina kupfura | Power not connected; Emergency stop engaged; Software error; Laser source issue. | Check power connections; Release emergency stop; Restart software/computer; Contact support if laser source is suspected. |
| Hunhu husina kunaka hwekunyora | Incorrect focus; Dirty lens; Incorrect power/speed settings; Material not flat. | Re-focus the laser; Clean the lens; Adjust engraving parameters; Ensure material is flat and secure. |
| Muchina haubatanidzi pakombuta | Loose data cable; Driver not installed; Software not recognizing device. | Check data cable connection; Install/reinstall drivers from USB drive; Restart software/computer. |
| Unexpected machine shutdown | Overheating; Power fluctuation; Loose power connection. | Ensure proper ventilation; Check power supply stability; Secure power cable. |
9. Zvinotsanangurwa
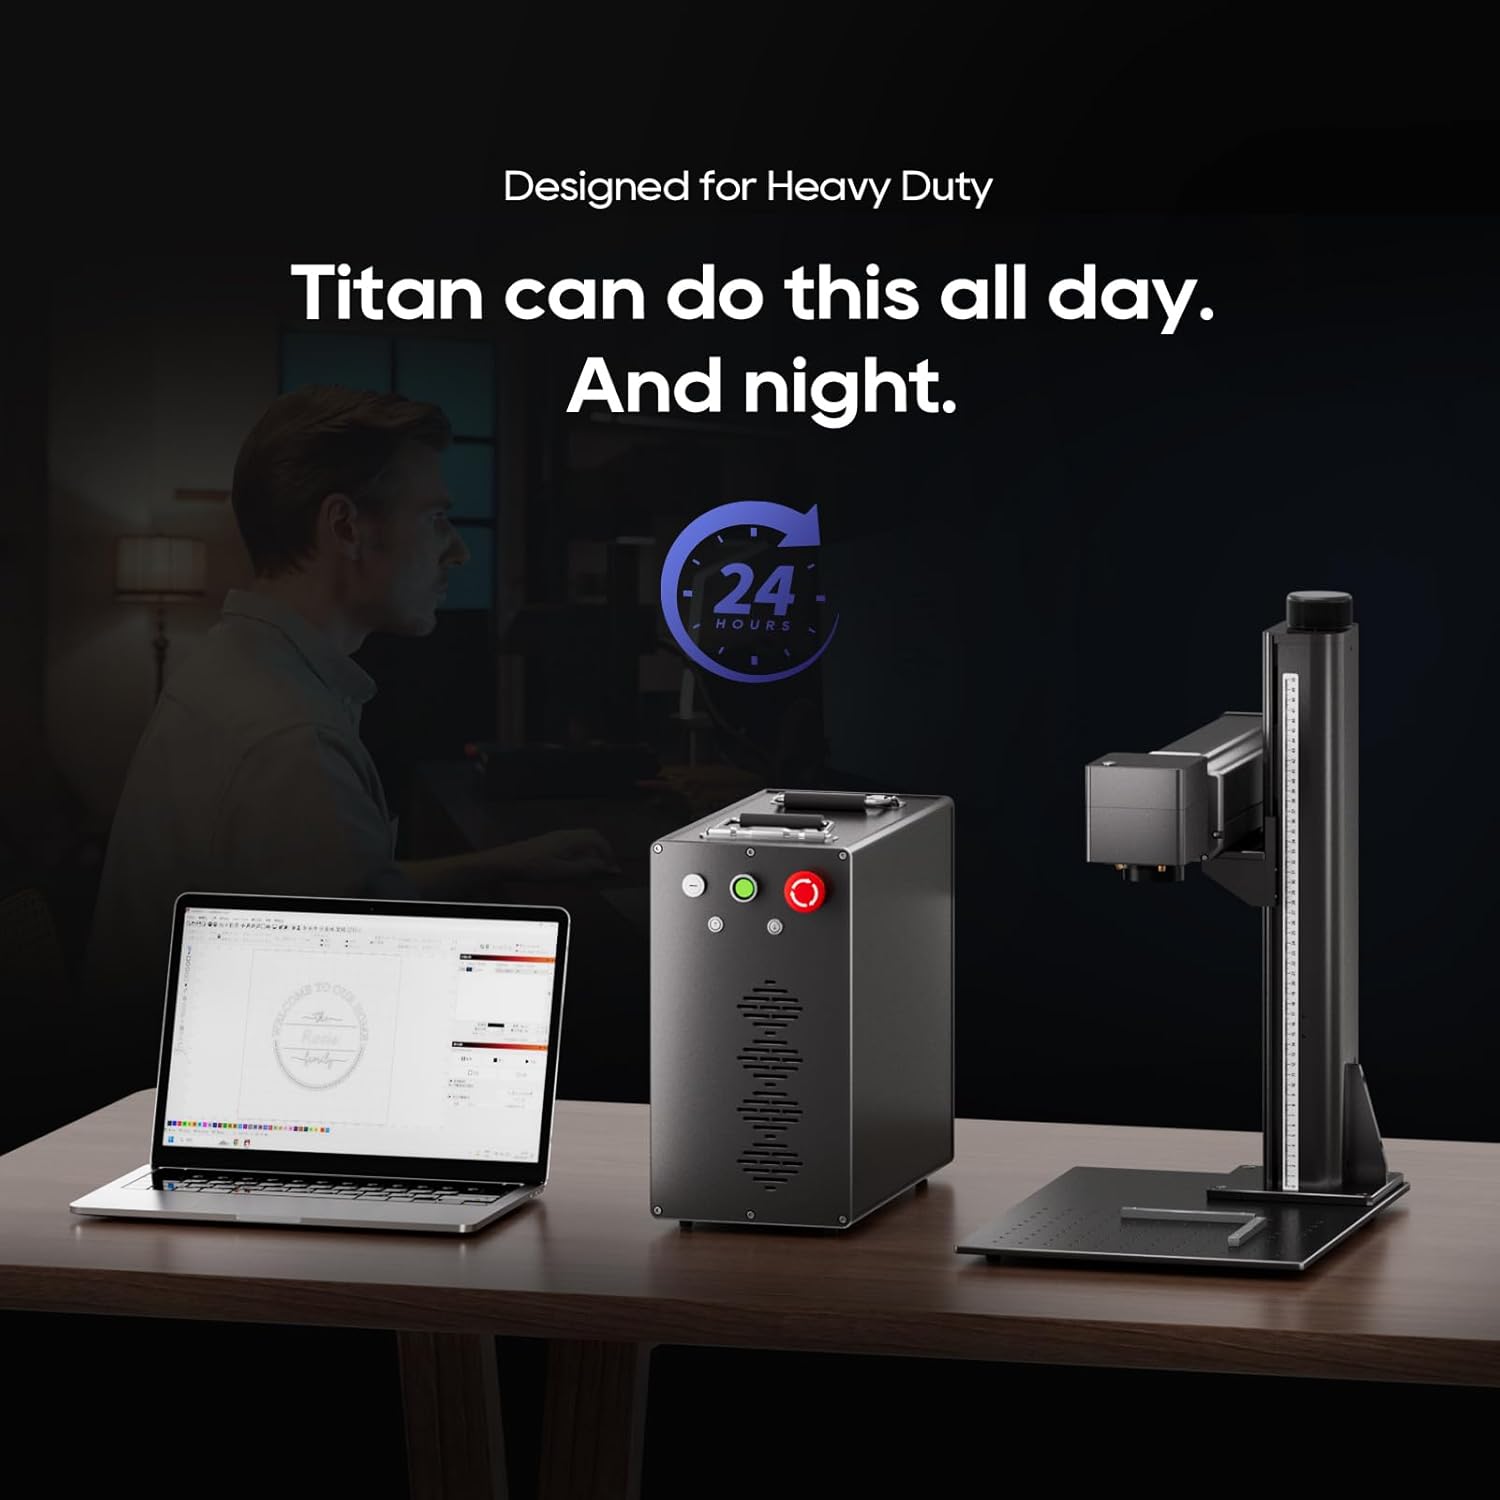
Image: Detailed dimensions of the ComMarker Titan1 60W JPT Mopa Fiber Laser Engraving Machine.
| Feature | Detail |
|---|---|
| Mugadziri | ComMarker |
| Model Number | Titan1 Mopa |
| Laser Source | 60W JPT Mopa Fiber Laser |
| Laser Wavelength | 1064nm |
| Engraving Speed | Kusvika ku15,000mm/s |
| Engraving Accuracy | 0.01mm, 8K HD |
| Maximum Engraving Area | 300mm x 300mm |
| Simba Source | AC/DC, 110V |
| Kugarisana Kwehurongwa | Windows 7/8/10/11, MAC (Lightburn) |
| Supported Graphic Formats | BMP, GIF, JPG, JPEG, DXF, DST, AI, etc. |
| Product Dimensions | 22 x 25.8 x 21.5 inches (approx. 559 x 655 x 546 mm) |
| Laser Kirasi | Class 1 Laser Product (IEC 60825-1) |
10. Warranty uye Tsigiro
For warranty information, please refer to the documentation included with your purchase or contact ComMarker customer support directly. If you encounter any issues not covered in this manual or require technical assistance, please reach out to ComMarker customer service through their official website or the contact information provided at the time of purchase.
Zvekushandisa Pamhepo: For additional guides, software updates, and community support, visit the official ComMarker website.


