Nhanganyaya
This manual provides comprehensive instructions for the installation, operation, and maintenance of your RAB Mortise Lock Handle, model CY 5002. Please read these instructions carefully before beginning installation to ensure proper function and longevity of the product. This lock set is designed for main doors and is suitable for both right-handed and left-handed door applications.
Product Features
- Material: Constructed from durable zinc for reliability.
- Pedzisa: Elegant black matte finish.
- Saizi 8-inch handle plate.
- Kushandiswa Kwakasiyana-siyana: Suitable for main doors, bedrooms, bathrooms, and office doors.
- Privacy Function: Latch bolt can be locked from the inside with a thumb turn.
- Emergency Access: Outside access for emergency situations using a coin or tool.
- Kuisa Nyore: Designed for straightforward installation on standard-sized doors.
- Ambidextrous Dhizaini: Keys and lock mechanism are compatible with both left and right-hand opening doors.
Package Zviri mukati
Verify that all components listed below are present in your package before starting installation.
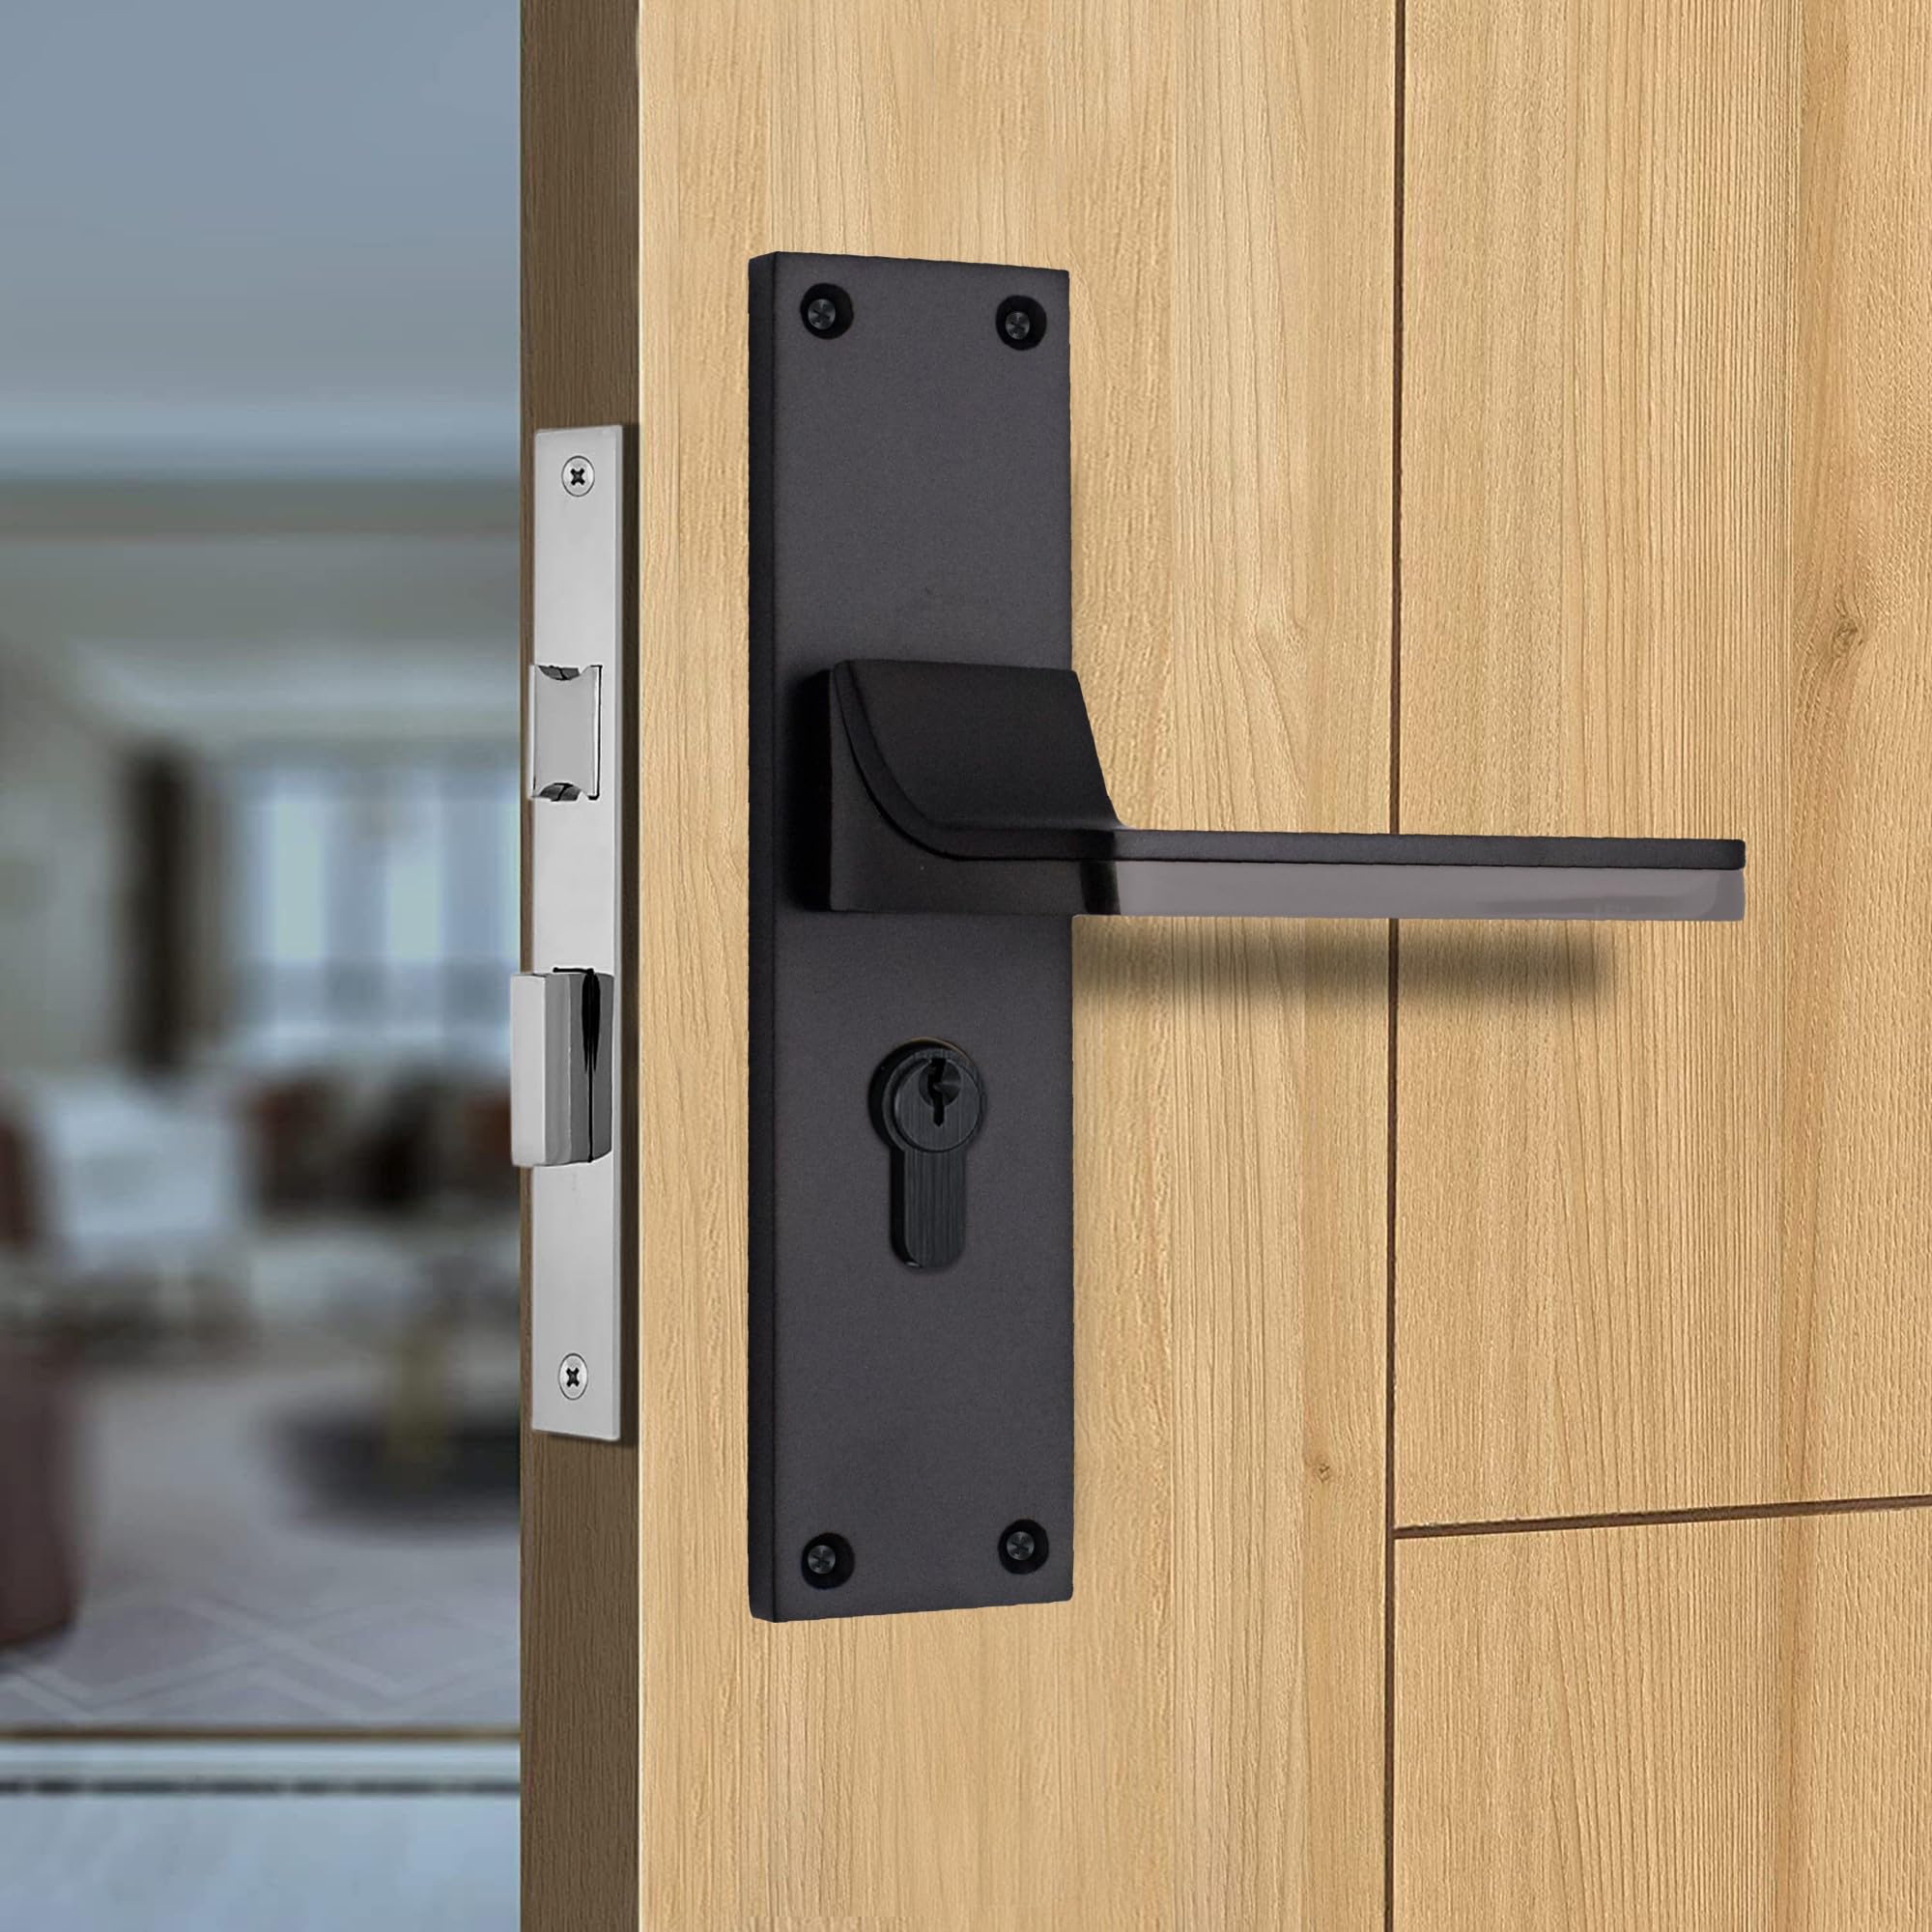
Image: Complete set of RAB Mortise Lock Handle components, including handles, lock body, cylinder, keys, and screws.
- 1 Set of Handles (Left & Right)
- 1 Mortise Lock Body
- 1 Cylinder Lock with 3 Keys
- Mounting Screws
- Spindle Bar
- Strike Plate
- Emergency Release Tool (if applicable, implied by description)
Setup uye Installation
Follow these steps for proper installation of the RAB Mortise Lock Handle CY 5002. Professional installation is recommended if you are unfamiliar with door hardware installation.
- Gadzirira Musuo: Ensure your door is prepared with the necessary mortise cutout for the lock body and holes for the handles and cylinder. If replacing an existing lock, remove the old hardware.
- Isa Mortise Lock Body: Insert the mortise lock body into the cutout on the edge of the door. Secure it with screws provided. Ensure the latch bolt operates smoothly.
- Install the Spindle Bar: Insert the square spindle bar through the square hole in the mortise lock body. This bar connects the two handles.
- Batanidza MaHandle: Place one handle plate on each side of the door, aligning the spindle bar with the handle mechanism. Ensure the keyhole on the handle plate aligns with the cylinder opening in the lock body.
- Install the Cylinder Lock: Insert the cylinder lock through the designated hole in the handle plate and mortise lock body. Secure it with the long screw that goes through the edge of the door and into the cylinder.
- Secure Handle Plates: Fasten the handle plates to the door using the provided screws. Ensure the handles are level and firmly attached.
- Isa Strike Plate: On the door frame, mark and chisel out the area for the strike plate so that the latch bolt and deadbolt (if applicable) can fully extend into the frame. Secure the strike plate with screws.
- Test Operation: Close the door and test the latch and lock functions with both the handles and the keys. Ensure smooth operation and proper locking.
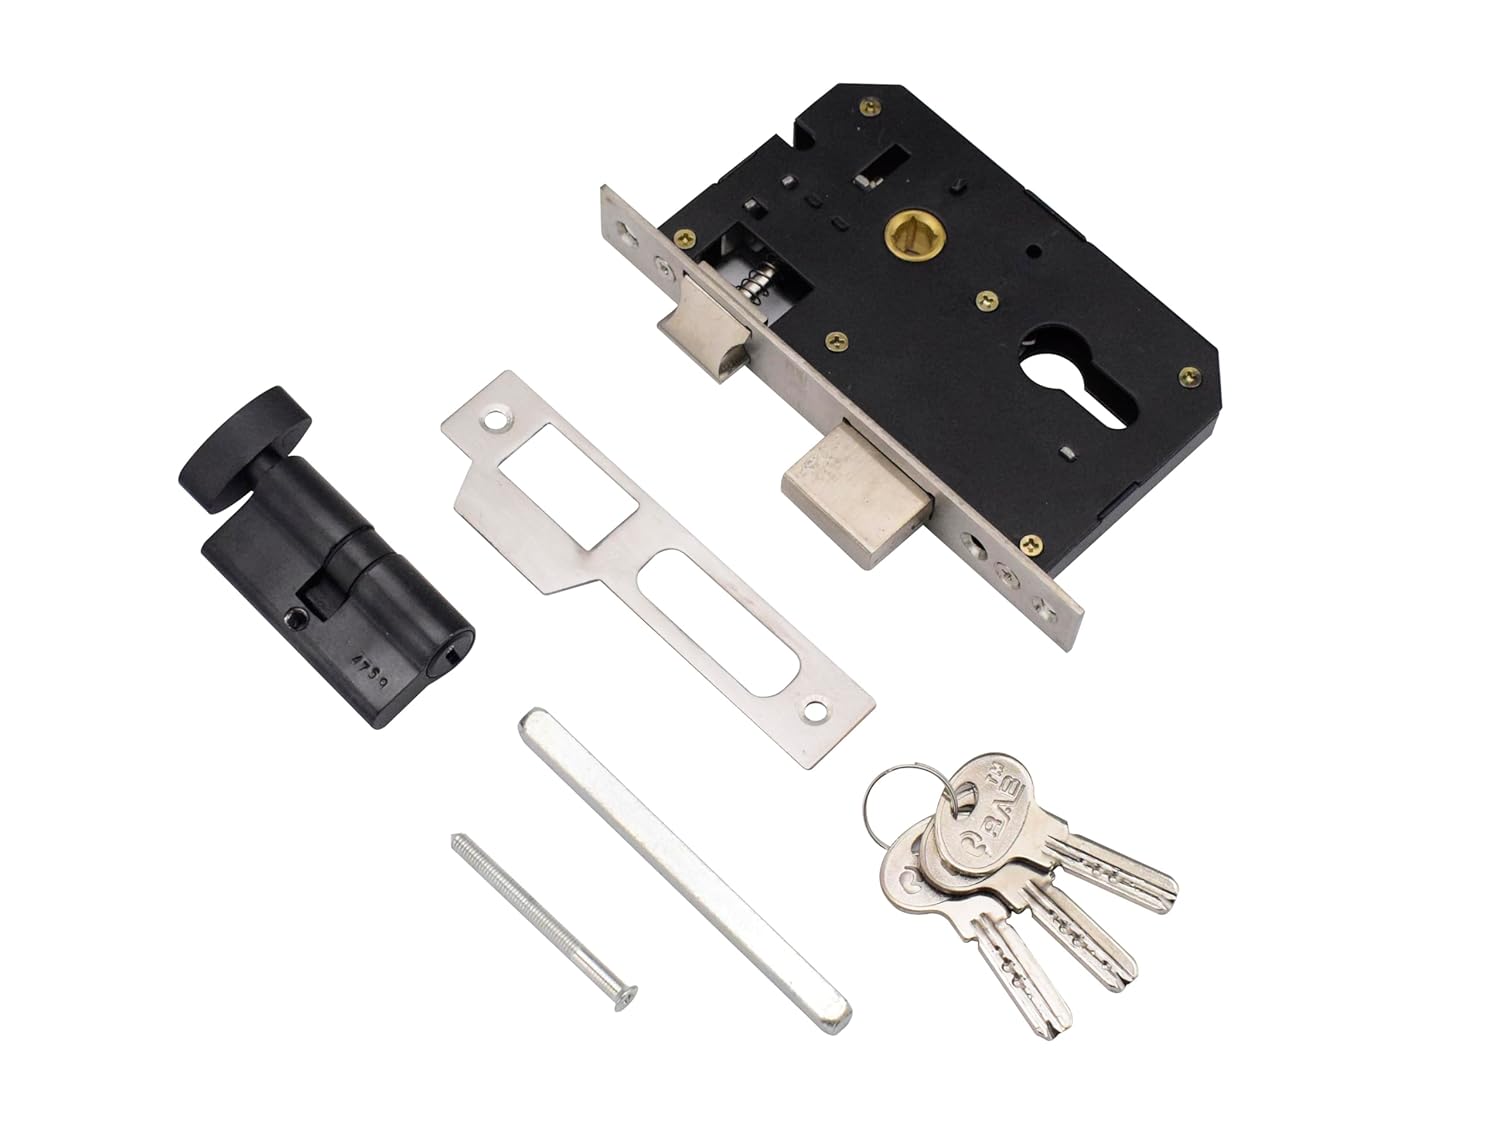
Image: Individual components including the mortise lock body, cylinder, keys, and spindle bar.

Mufananidzo: Mberi view of the two handle plates, showing the handle levers and keyholes.

Mufananidzo: Rear view of a handle plate, illustrating the internal mechanism for spindle connection and screw points.
Operation
The RAB Mortise Lock Handle CY 5002 is designed for ease of use and security.
- Opening from Outside: Insert the key into the keyhole and turn to retract the latch bolt. Then, depress the handle to open the door.
- Opening from Inside: Depress the handle to retract the latch bolt and open the door.
- Locking from Outside: Close the door, insert the key, and turn to engage the locking mechanism. Remove the key.
- Locking from Inside: Close the door. Use the thumb turn button on the inside handle to engage the locking mechanism.
- Emergency Access: In case of emergency, the lock can be opened from the outside using a coin or an emergency release tool inserted into the small slot on the outer handle plate.
Maintenance
Regular maintenance will help ensure the smooth operation and extend the lifespan of your RAB Mortise Lock Handle.
- Kuchenesa: Clean the handles and plates regularly with a soft, damp cloth. Avoid abrasive cleaners or harsh chemicals, as these can damage the black matte finish.
- Lubrication: Periodically apply a small amount of graphite lubricant or a silicone-based spray lubricant to the keyway and the latch mechanism. Do not use oil-based lubricants as they can attract dust and grime.
- Screw Tightness: Check all mounting screws periodically and tighten them if necessary to prevent wobbling or misalignment.
- Kuongorora: Inspect the lock for any signs of wear or damage. If any components appear damaged, contact customer support for assistance.
Kugadzirisa matambudziko
If you encounter issues with your RAB Mortise Lock Handle, refer to the following common problems and solutions:
- Mubato Wakasununguka:
- Check and tighten all mounting screws on the handle plates.
- Ensure the spindle bar is correctly seated and secured.
- Latch Bolt Does Not Retract Smoothly:
- Apply lubricant to the latch mechanism.
- Check for any obstructions in the door frame or strike plate.
- Ensure the lock body is properly aligned within the mortise cutout.
- Key is Difficult to Turn or Stuck:
- Apply graphite lubricant to the keyway.
- Ensure the key is fully inserted and is the correct key for the lock.
- Check if the cylinder is properly installed and secured.
- Door Does Not Latch Properly:
- Verify that the strike plate on the door frame is correctly aligned with the latch bolt. Adjust if necessary.
- Check for door misalignment or sagging that might prevent proper latching.
Zvinotsanangurwa
| Feature | Detail |
|---|---|
| Brand | RAB |
| Model Number | Lock plate CY 5002 |
| Material | Zinc |
| Color | Nhema |
| Finish Type | Black Matt |
| Kiya Type | Kiyi Kiyi |
| Item Weight | 480 magiramu |
| Zviyero zveChigadzirwa (LxWxH) | 20 x 9 x 5 cm |
| Nyika Yekwakabva | India |
Warranty uye Support
For warranty information or technical support regarding your RAB Mortise Lock Handle CY 5002, please refer to the manufacturer's official website or contact RAB customer service directly. Keep your purchase receipt as proof of purchase for any warranty claims.


